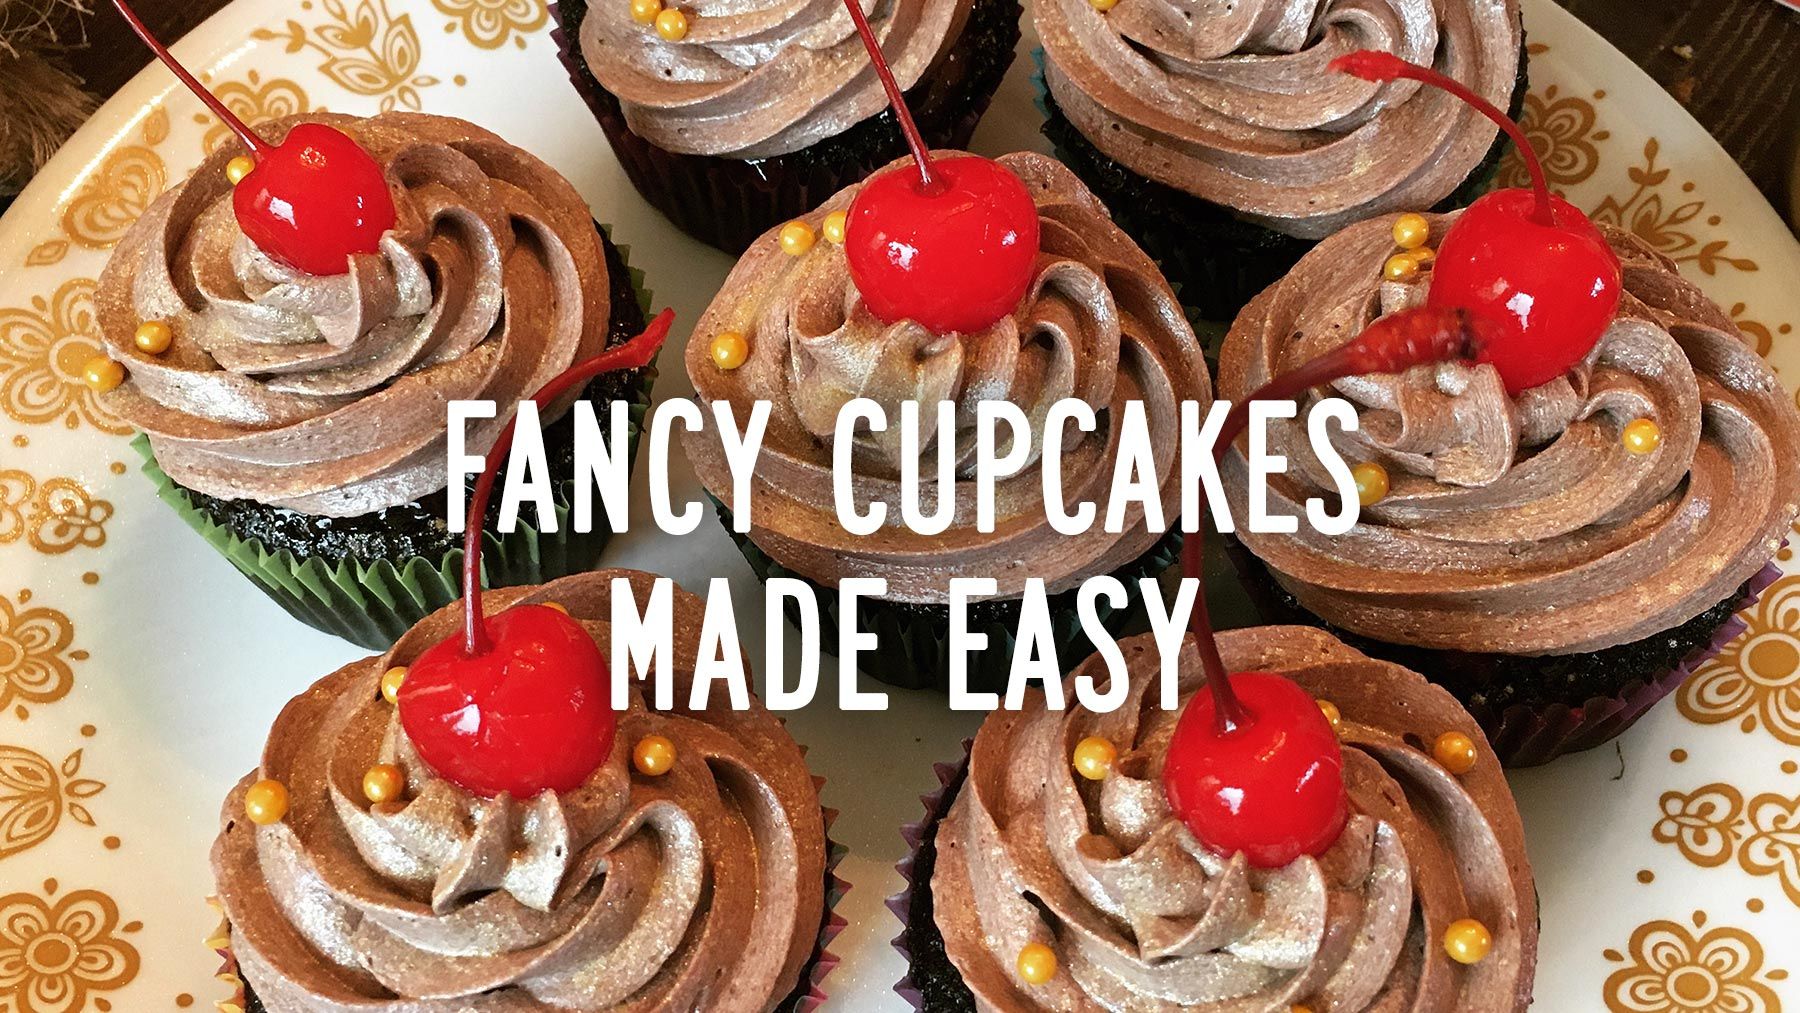
Fancy cupcakes made easy
Simple and inexpensive ways to make your cupcakes deluxe, and so you can whip them out easily and make ordinary days special.

I've been learning so much as I find my sea legs with homeschooling, and it's not all pedagogy... some of it is baking. Cupcakes are our go-to way to turn a day into a holiday, and they're how we've marked some special homeschooling milestones.
But how can cupcakes possibly make sense for a family of three during These No-Party Pandemic Times? Cupcakes FREEZE! And they make the round-trip back in the same shape they went in, it's like a miracle.
Making upgraded cupcakes doesn't really take any extra effort, just a few cheap tools and the teensiest smidge of know-how. I'm no pastry chef, and these are nowhere near professional-quality cupcakes, these are just little things that have upped my game a bit. Here are the tips & tools I've figured out over the last couple of years:

The cake
For chocolate cake, I use this Black Magic cake recipe. It makes a ridiculous amount of cupcakes so you'll probably want to halve it, you'll still get about 14 cupcakes. Bake time will be around 20 minutes. Beyond chocolate, I don't have any particular favorite cake recipes, and box mix is fine.
If you want to be a little ~*extra*~, before you ice them you can stick a little lemon curd or tart cherry jam inside the cupcakes.
The icing
The icing is what really makes a cupcake. I always use buttercream icing, this vanilla buttercream recipe is my standard. Buttercream recipes call for softened butter; if you forget to pull it out of the fridge early, cut the butter into small cubes and spread them out a bit, it'll warm up faster.
Icing flavors
Chocolate: I make a standard vanilla buttercream, and dump some unsweetened baking cocoa in it. I've never measured, I just go by taste.
Lemon: I use this lemon buttercream recipe. I'd use it as a starting point for any citrus-based icing.
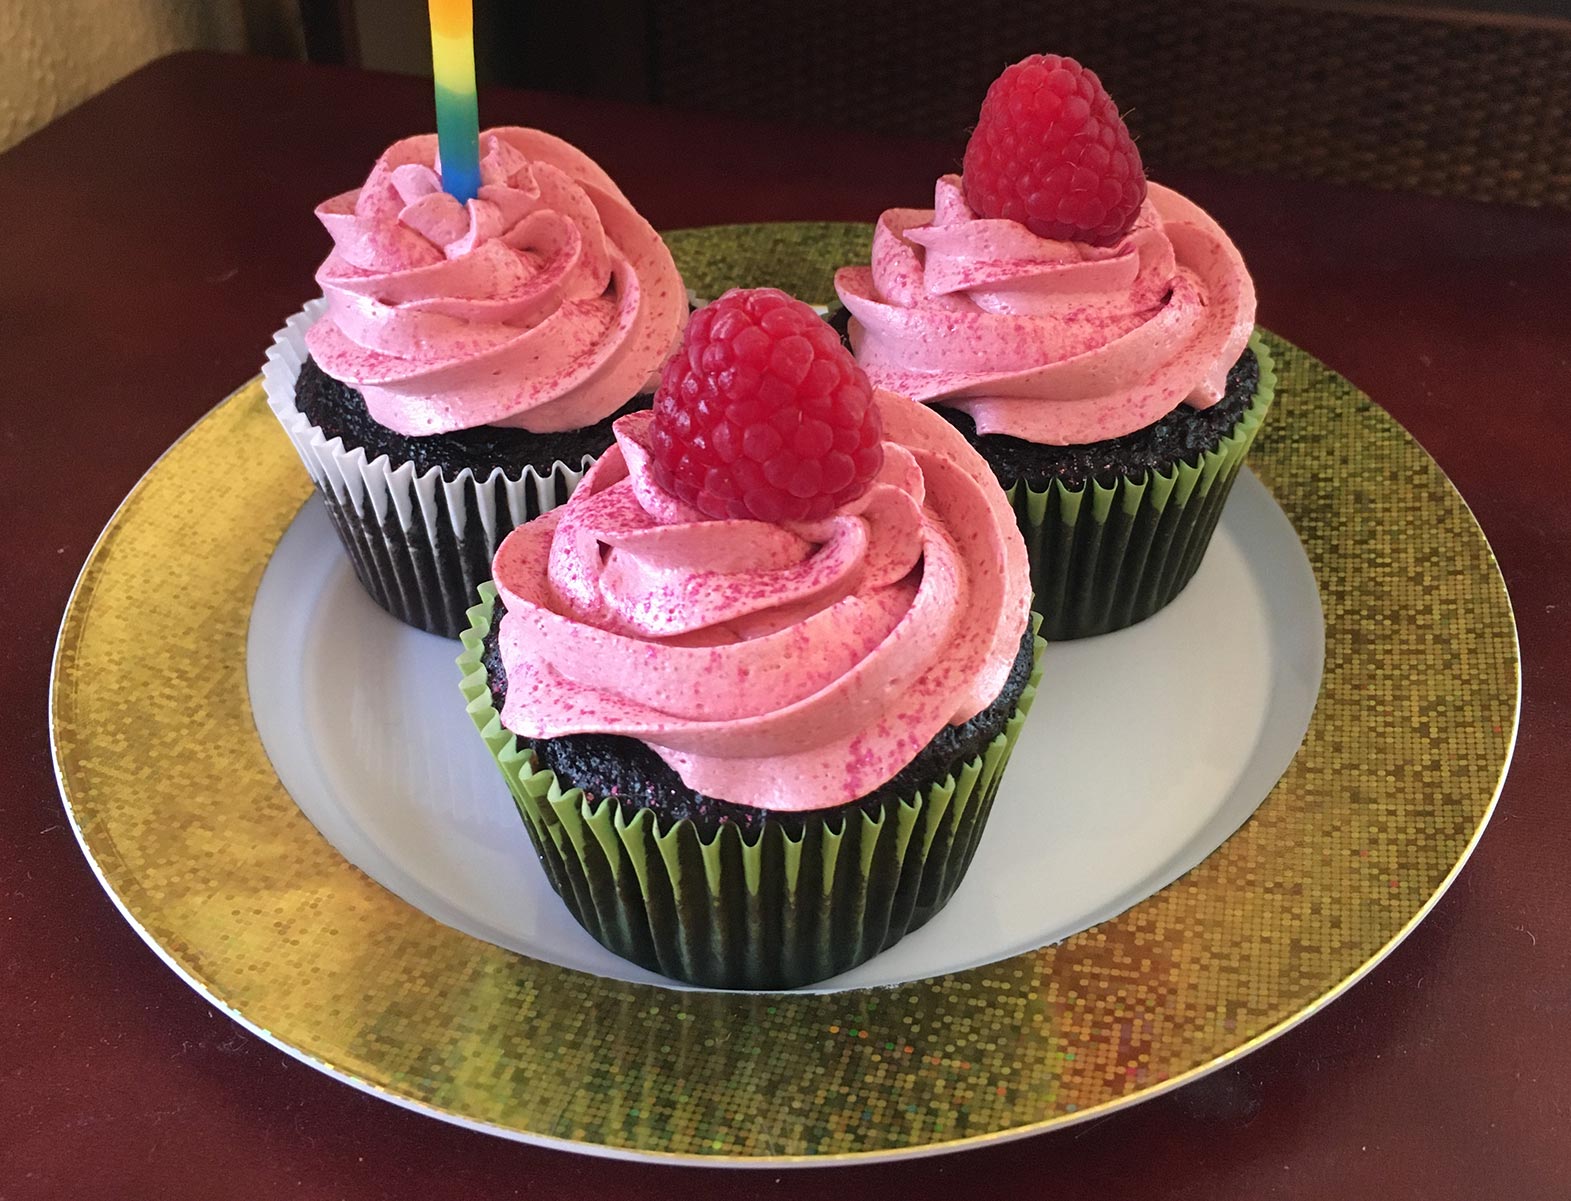
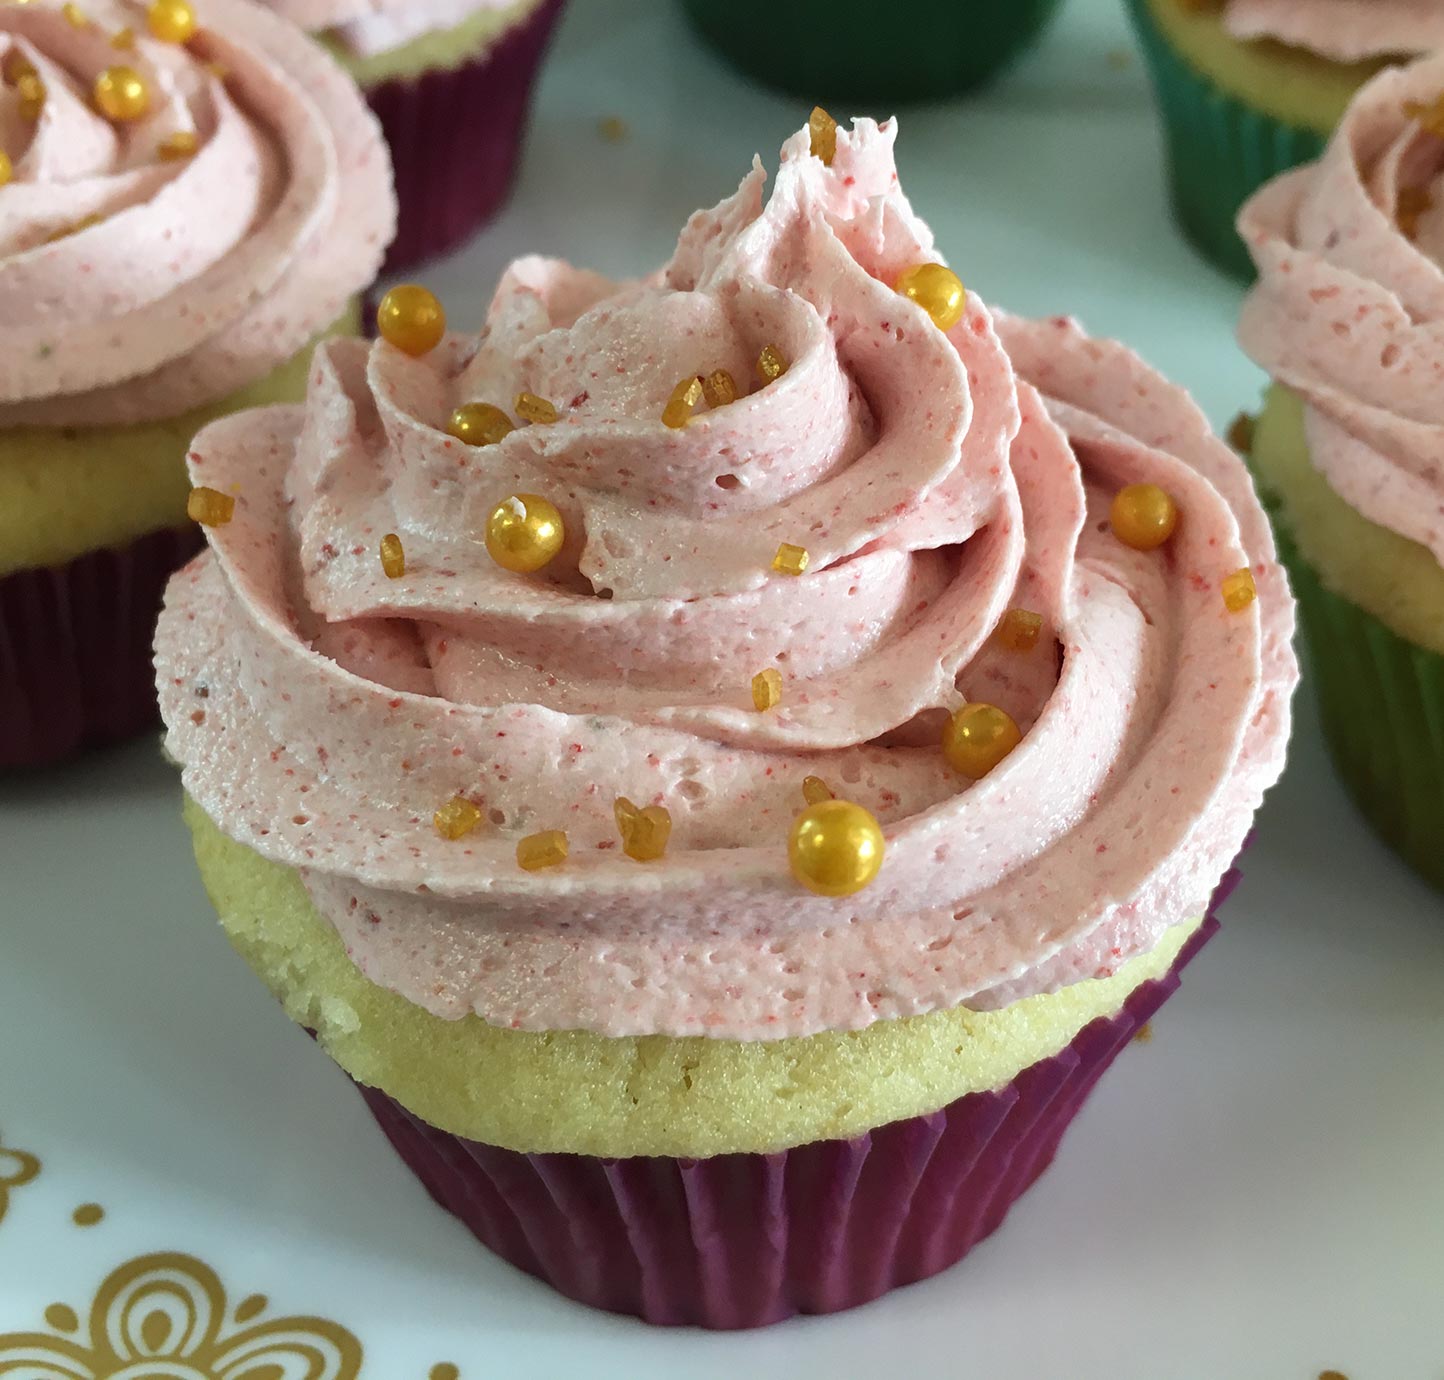
Berries and other fruit: Freeze-dried fruit (very affordable at Trader Joe's), turned into powder in a coffee grinder, gives intense, authentic flavor and color. I use this freeze-dried fruit buttercream icing recipe.
Kool-Aid: There's a veritable chemical rainbow of childhood memories to choose from. The flavor gets intense before the color does, so taste as you go, don't overdo it, and use food dye to get the color where you want it.
Mint, Almond: Flavoring extracts work great, but a little goes a long way. Add a 1/4 teaspoon at a time until the flavor is right.
Getting the right icing consistency
Stick the flat side of a spatula or scraper or spoon or whatever down into the icing, pull it straight back up and turn it over, and if you get a peak at the end that gravity can pull down into a little bit of a curl, you're good. If it's too stiff, add heavy cream one tablespoon at a time. If it's too flopsy, and it's warm where you're working, it may just need to go in the fridge to firm up a bit. If it's not warm, add a little powdered sugar. Don't worry about getting it just right—I made plenty of cupcakes I was perfectly thrilled with before I even figured out how to tell my consistency was off.
Icing equipment
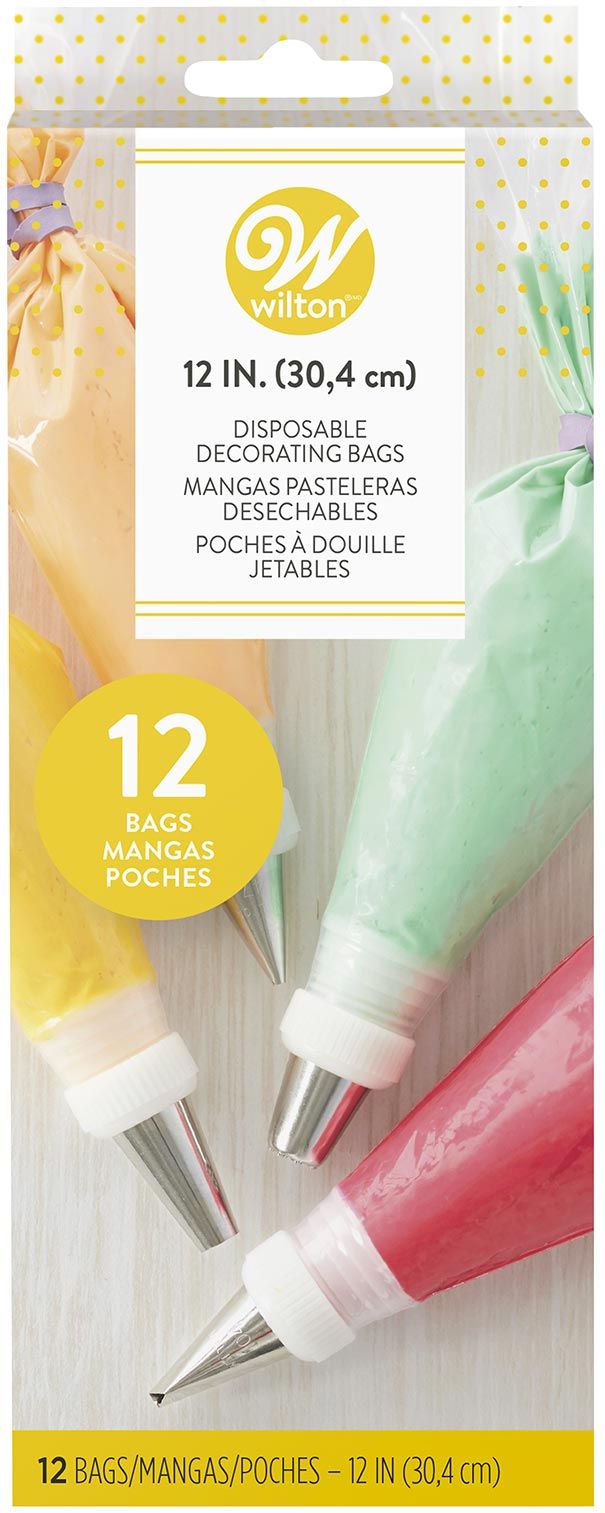
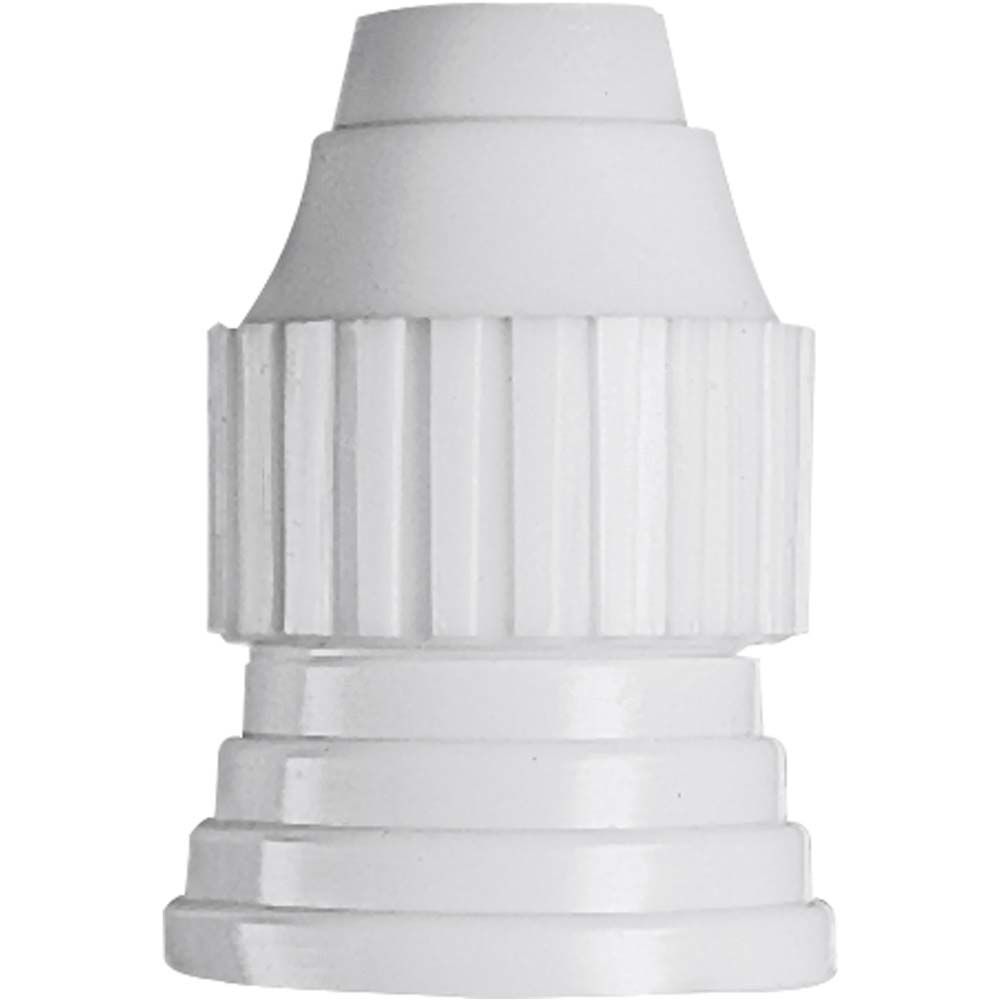
Here's where you're really going to level up your game, but it's silly-easy, it comes down to having the right icing tip. Ideally you'll have an icing tip, an icing bag, and a coupler that secures the tip to the bag, but I have made this work with just the icing tip and a Ziploc bag.
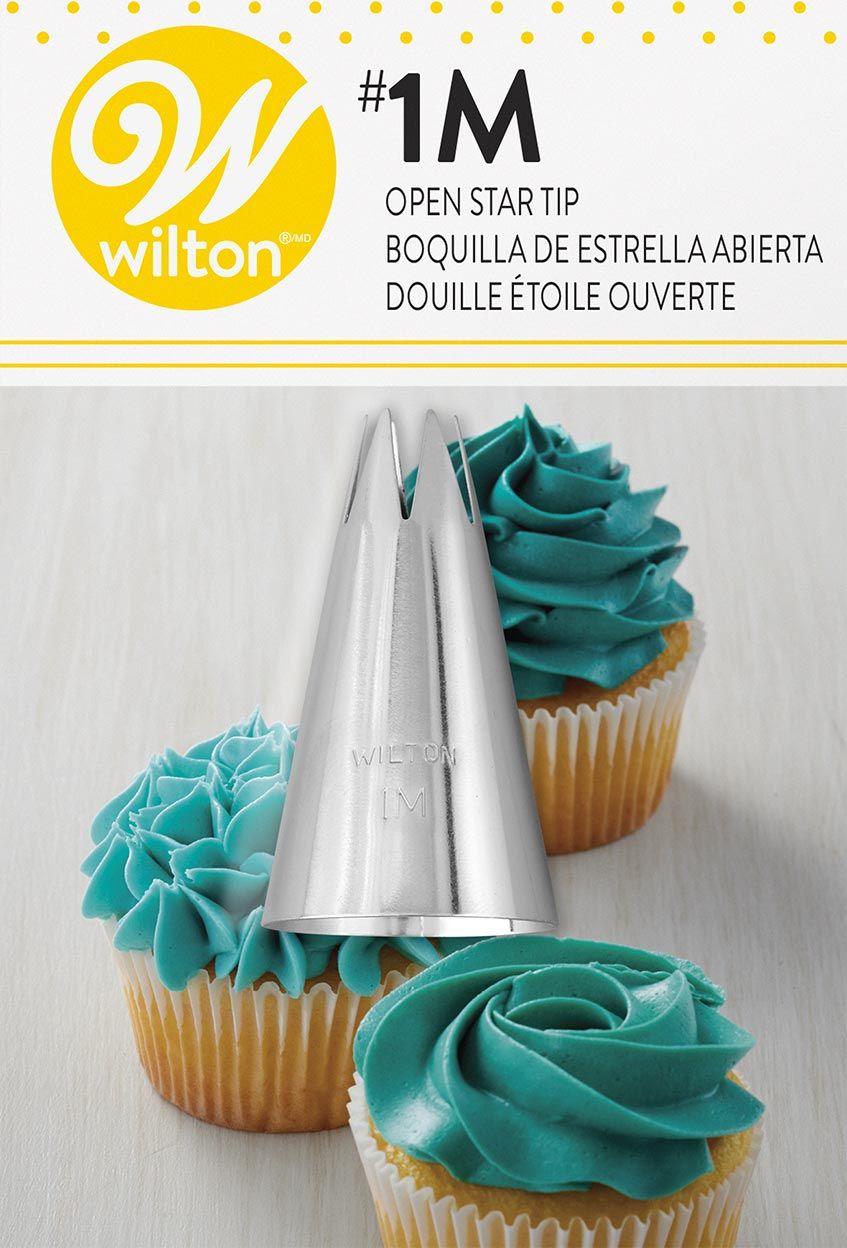
There are dozens of different icing tips out there, but for cupcakes, there is one to rule them all: the mighty #1M. It's called an "open star" tip, and it is a bit larger than standard size icing tips, so it calls for a large size coupler (not standard/small, and not jumbo).
For ages I just used ziploc bags with a corner cut off and the tip jammed in and that mostly worked just fine, but after a handful of blowout incidents, I use a proper icing bag now, with a coupler. A true icing bag has thicker plastic than a ziploc, and is less likely to have a blowout. Of the three items, the coupler is the least critical, and the hardest to find; if you can't find one easily don't sweat that bit. The tip/coupler/icing bag will probably come with instructions for assembly, but here's a short video showing how they go together.
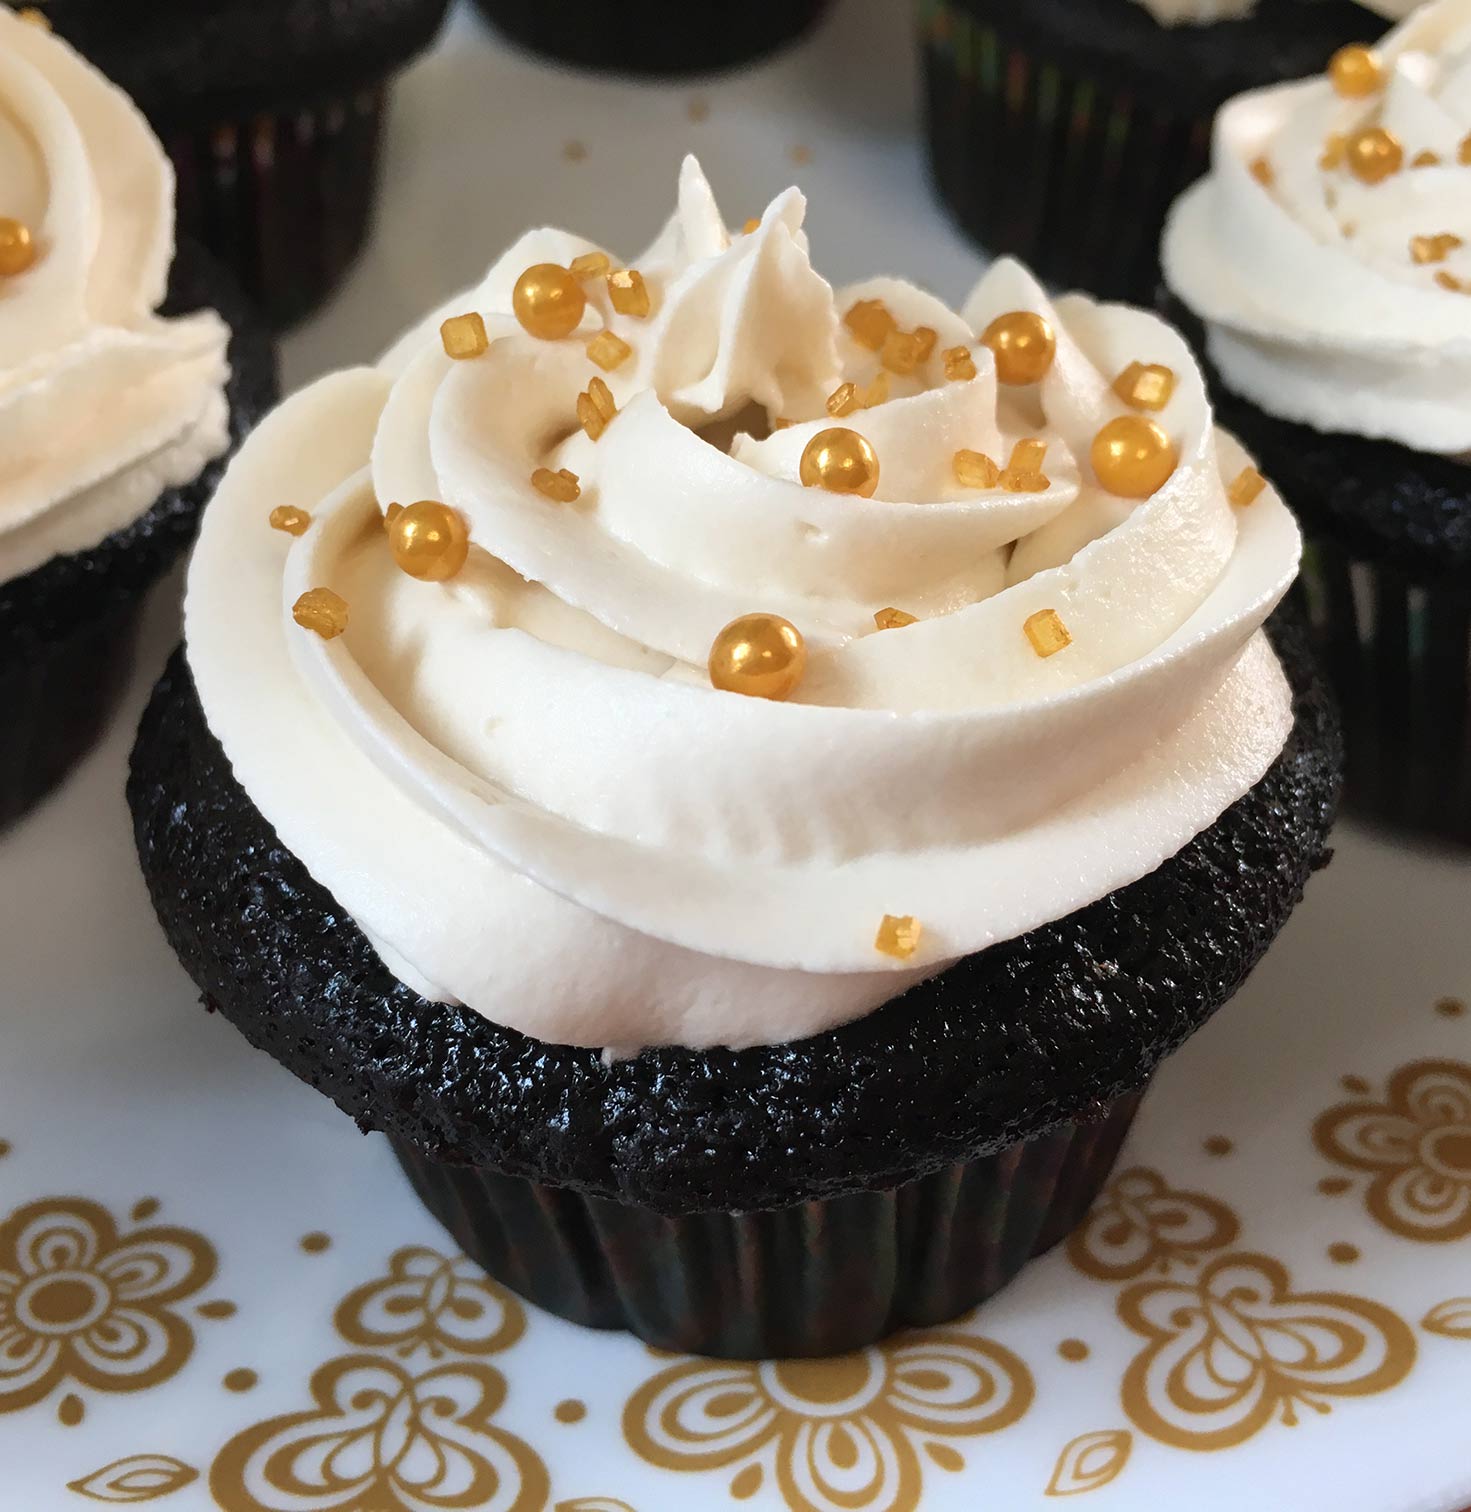
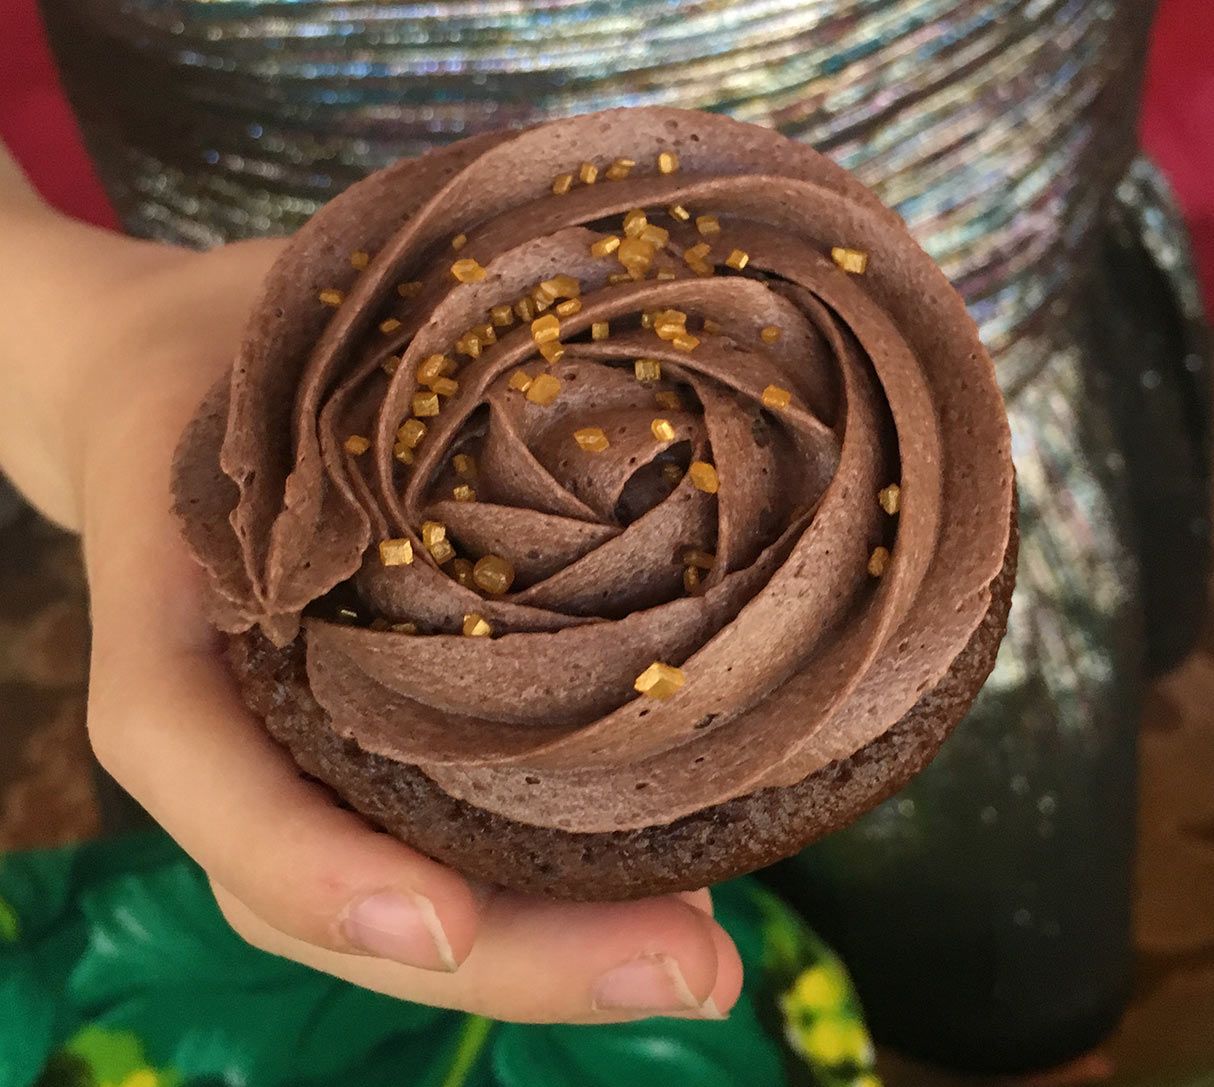
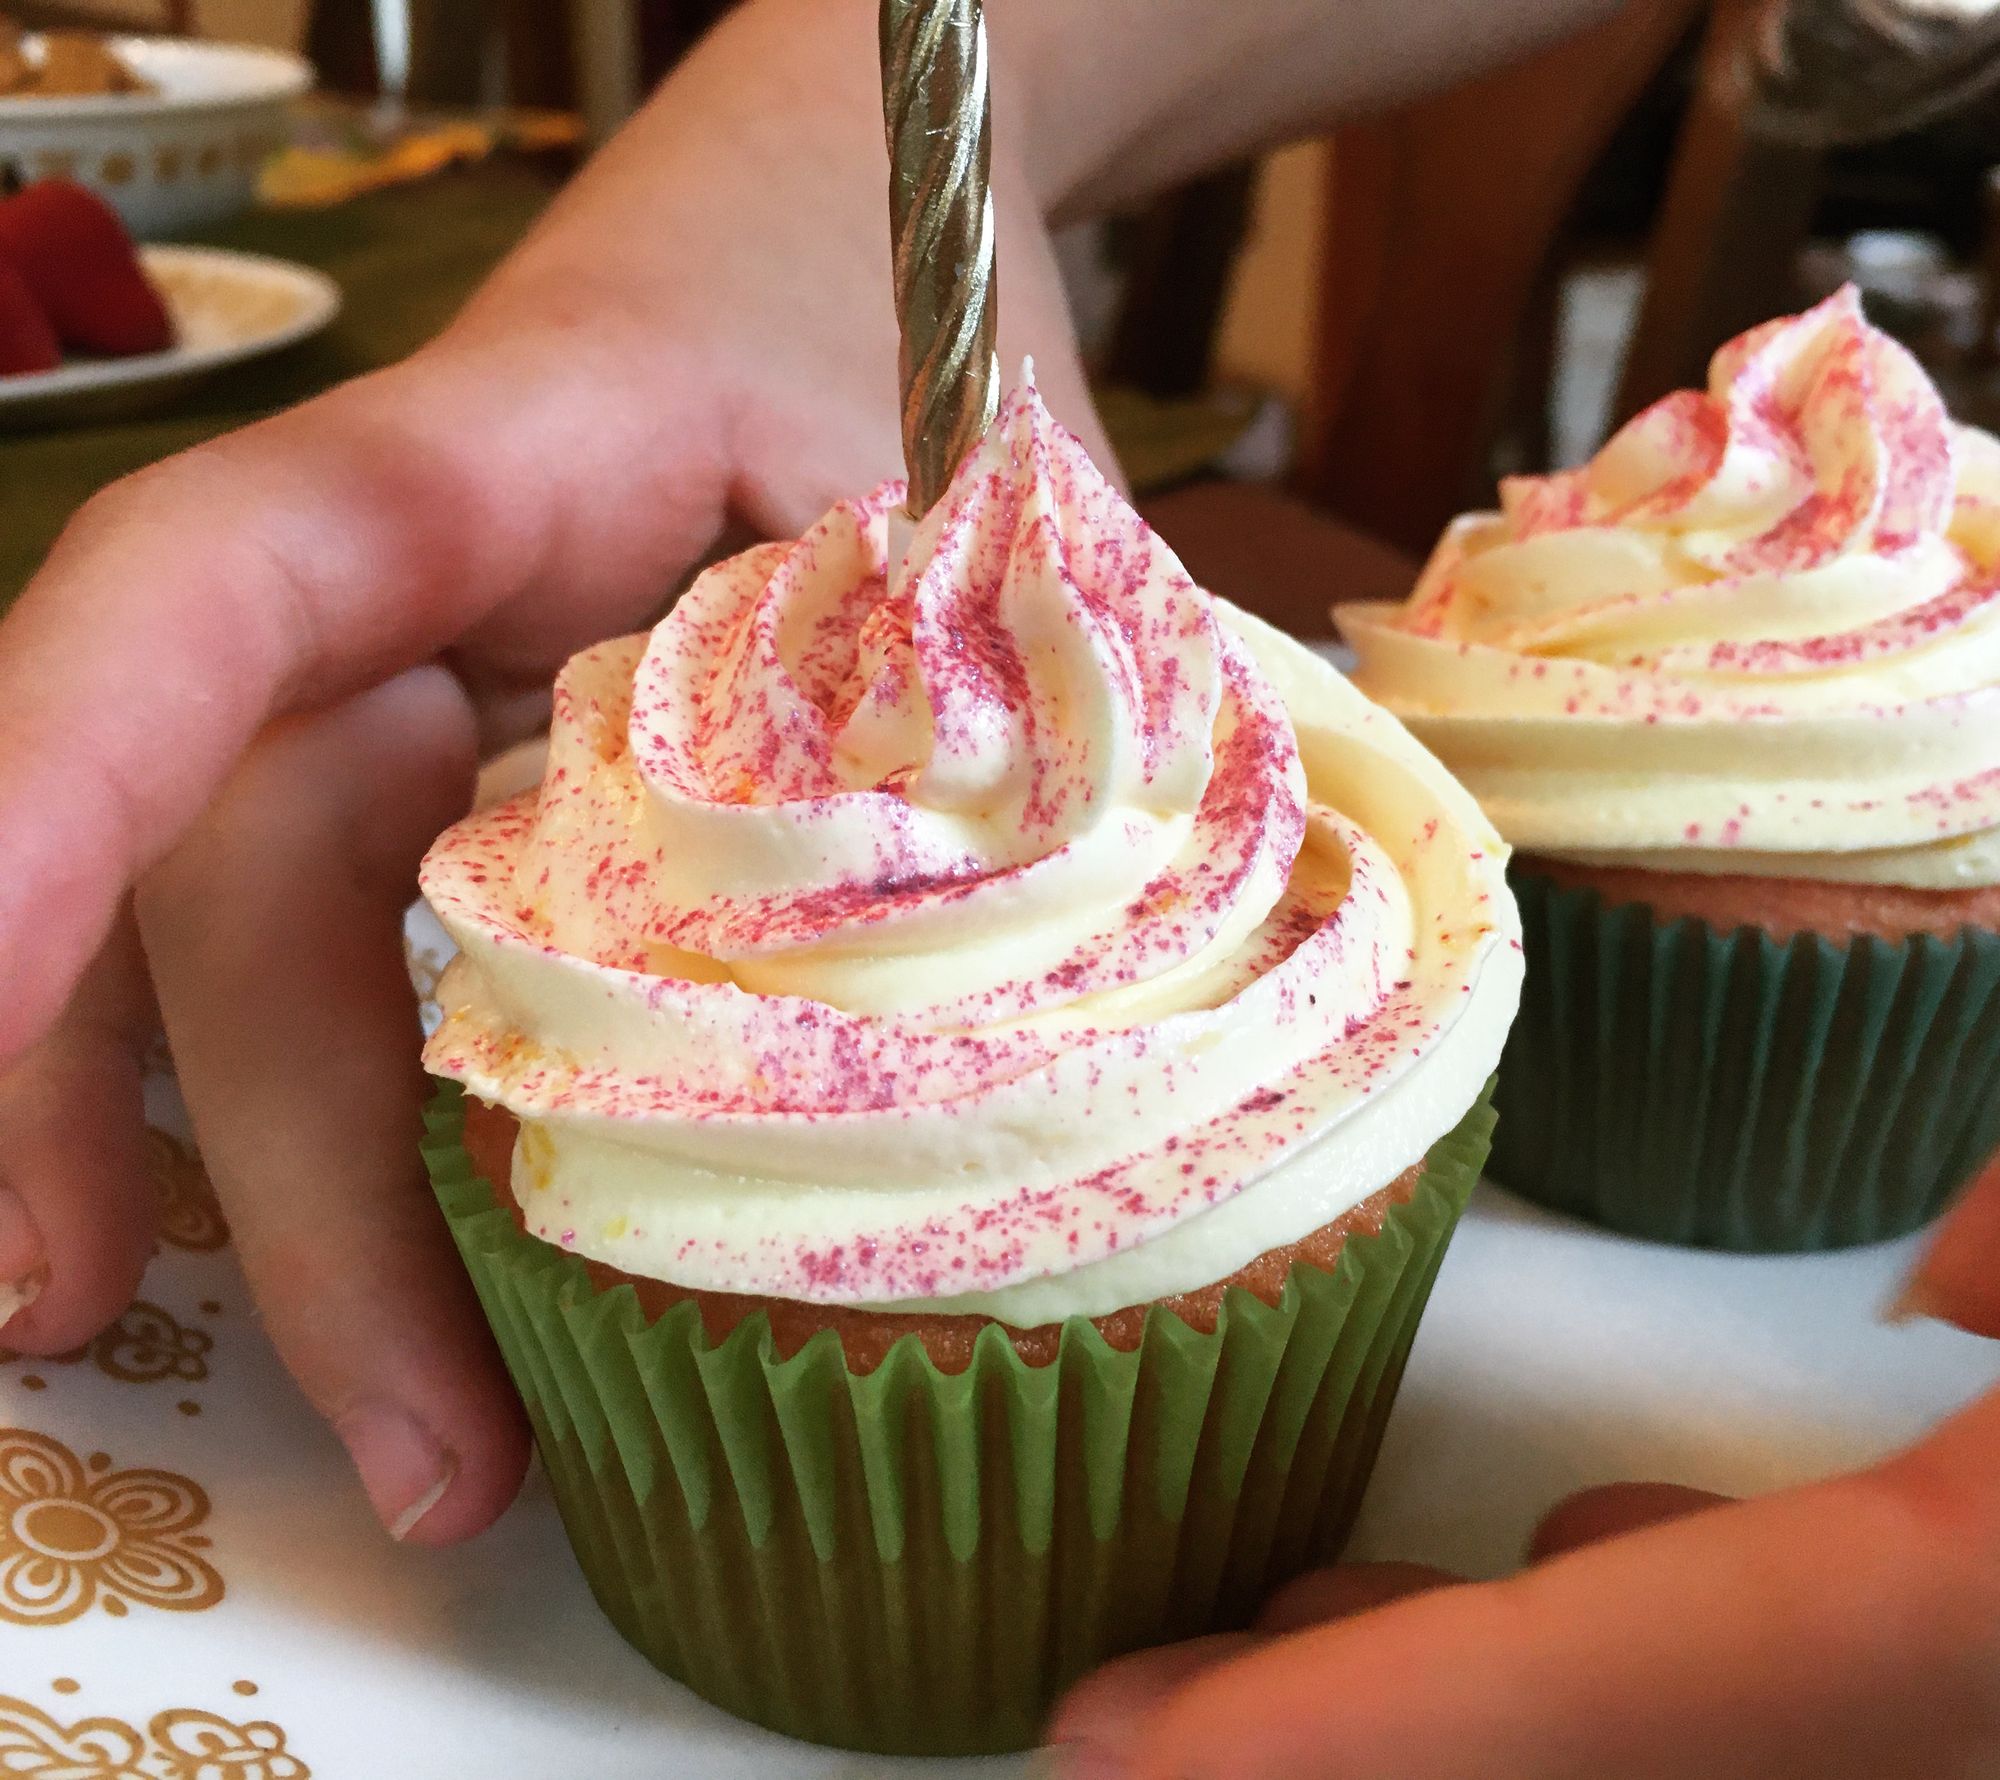
Keeping the back end of the bag twisted tightly closed, squeeze the icing onto the top of the cupcake. If you start at the outside edge and go around in a spiral toward the center, you get a classic-looking cupcake. If you start at the center and spiral outward, you get a kinda rosette looking thing. You'll be surprised how easy it is.
Sprinkle edible glitter or other doodads on top, and you're ~*FANCY*~!
Storage
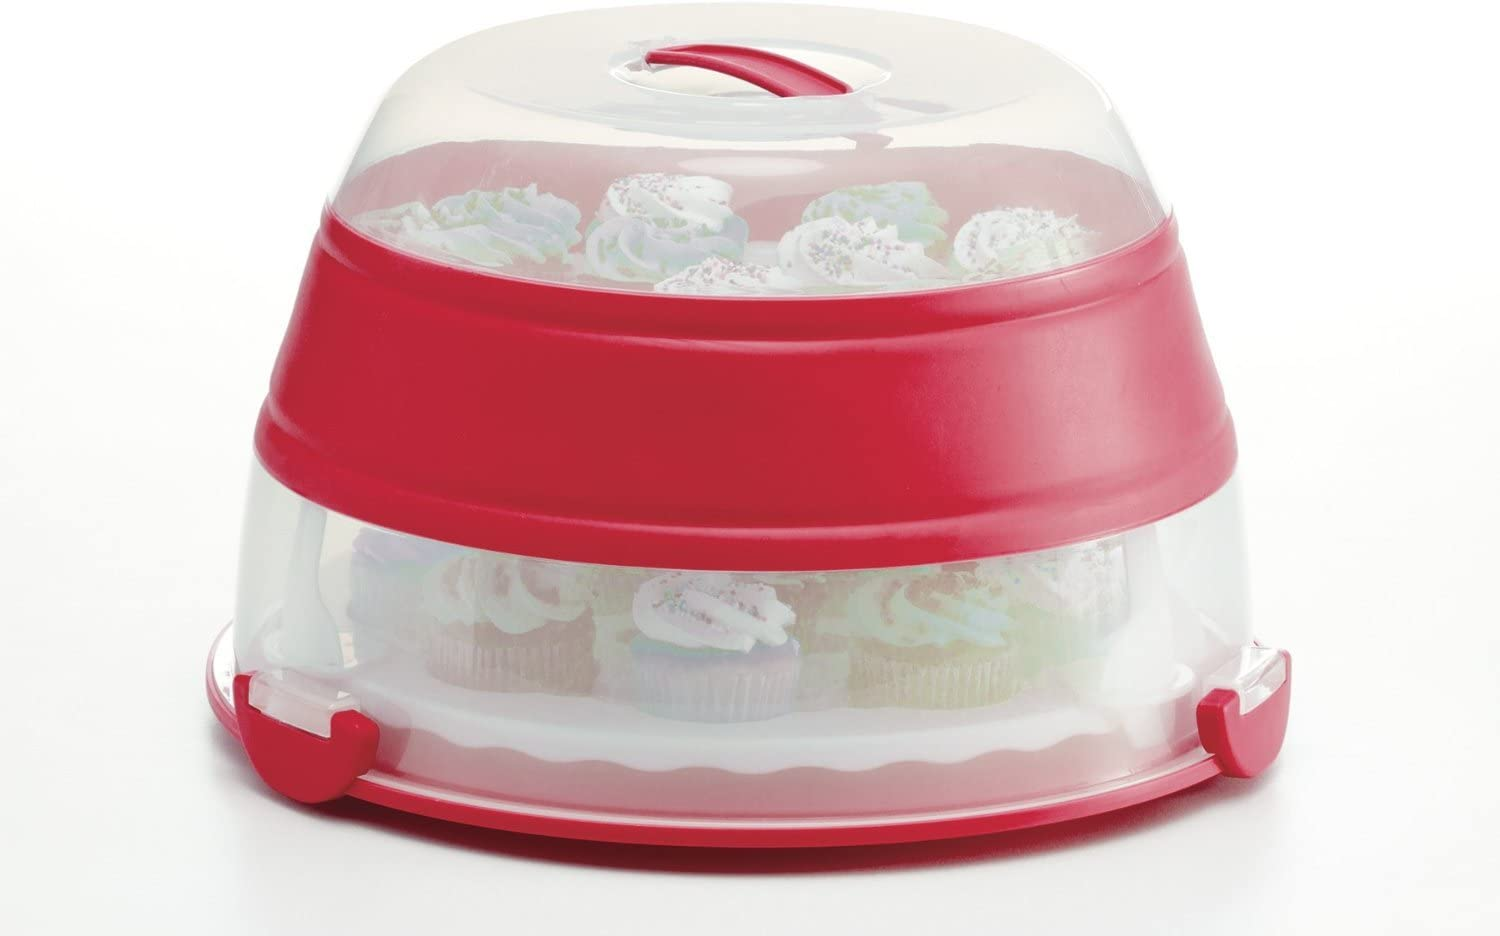
I was forever struggling to figure out where to store the cupcakes where they'd be safe from cats & ants, until I found this 24-cupcake-capacity carrier from Progressive (Progressive makes a bunch of kitchen gadgets I love). It collapses down when you're not using it, it turns into a two-tier display stand, but really it's just a perfect place to put the damned cupcakes. Recommended.
Freezing
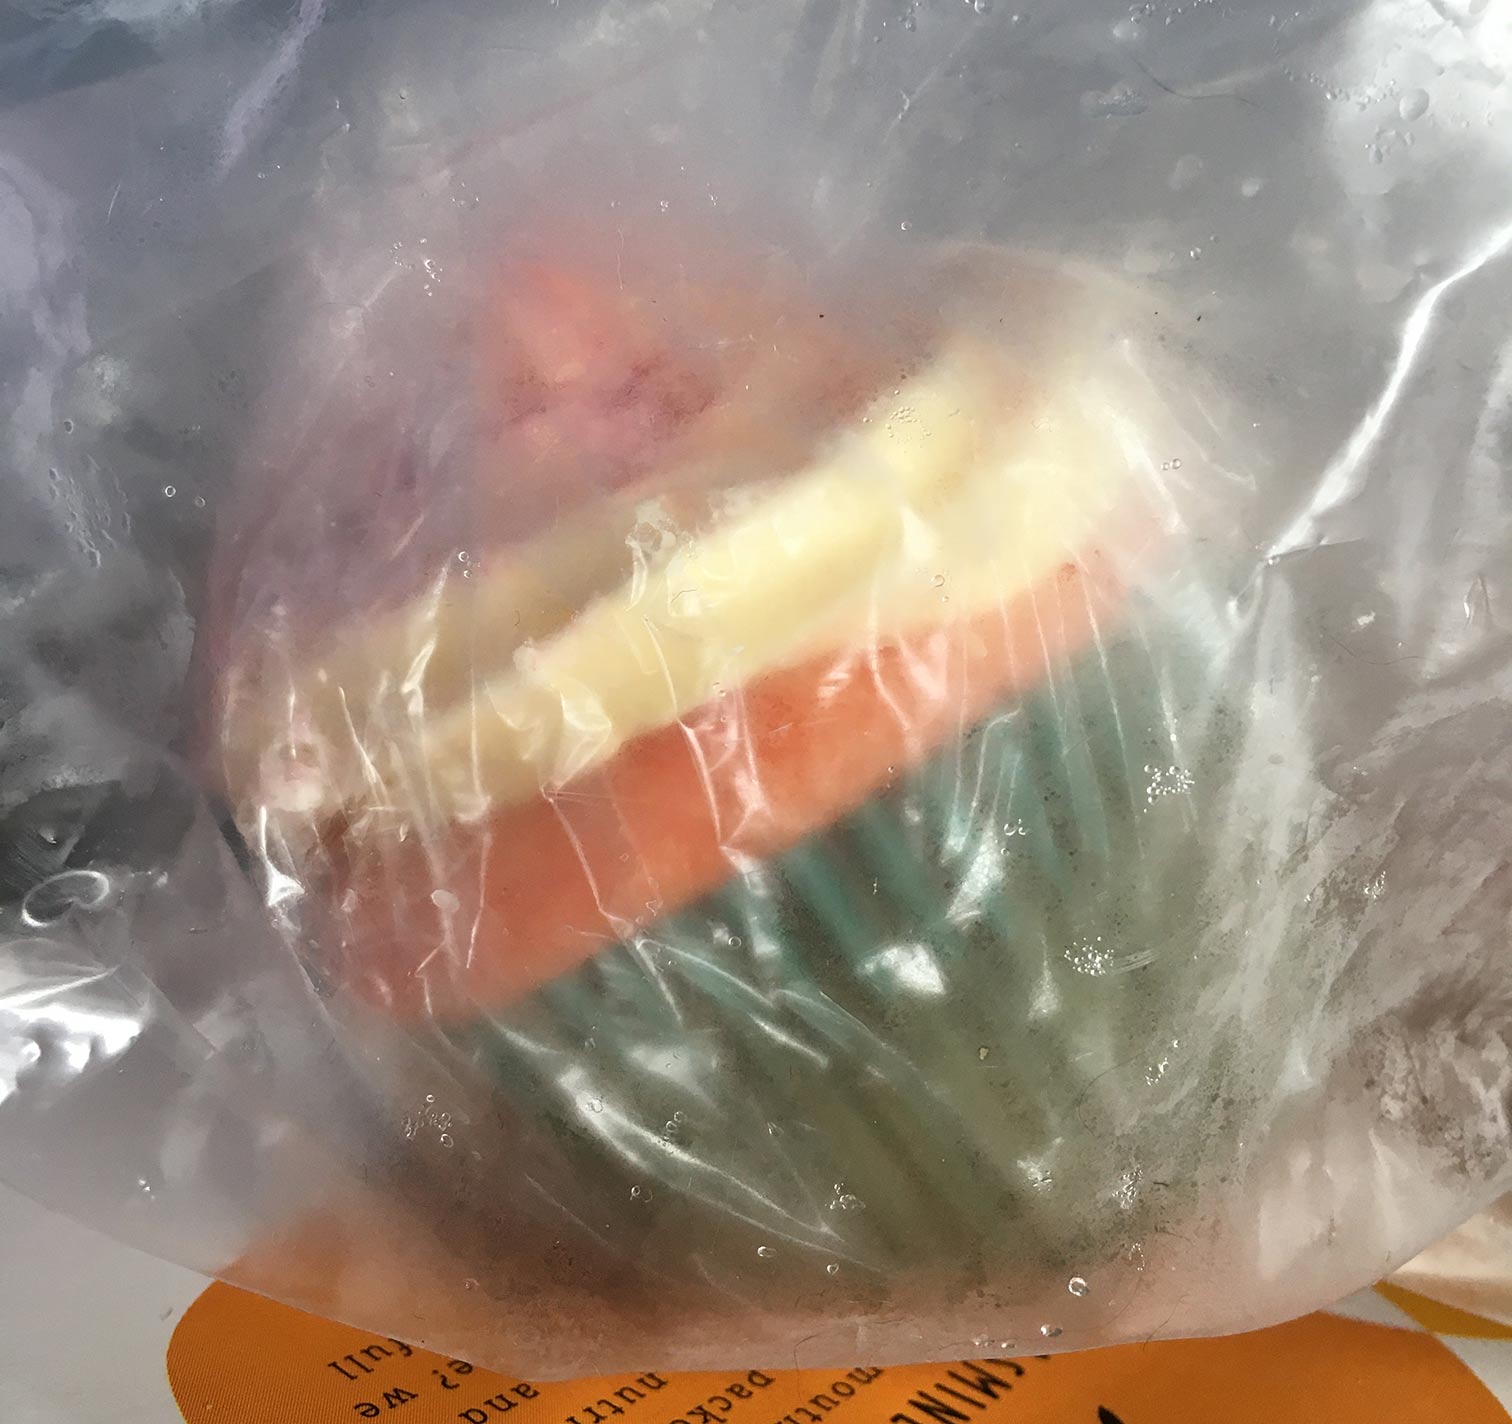
Here's the spot of genius: freezing your extra cupcakes. My mom taught me about freezing cupcakes and our lives were forever improved. Stick the cupcakes in the freezer to firm up (don't wrap them in plastic yet). My mom does it for just about 15 minutes, successfully, but I'm a wuss and worry about the frosting truly holding up, so I do it for a solid hour or so. The high butter content makes the icing go rock-hard pretty quickly. Once they're nice and firm, individually wrap each cupcake in plastic wrap. I wrap from the bottom up, and twist the wrap into a spiral around the icing. Toss the wrapped cupcakes into a gallon-size Ziploc bag. Your leftover icing can go in the freezer, too.
You can thaw the cupcakes in the fridge or on the countertop, it doesn't take long since they're small. Remove the plastic wrap while they're still frozen, so the icing doesn't stick.
Having the ability to whip out deluxe cupcakes is pretty handy. I hope the tips here help the magic of deluxe cupcakes fit into your life, too.