Upgrading our microscope
How we chose a high-quality compound microscope for our homeschool science lessons.
This is part three in a series about our leveling up our approach to science:
- Thinking like a scientist: The Baloney Detection Kit for kids
- Writing like a scientist: Using a lab notebook for science
- Using tools like a scientist (you are here!)
- Dressing like a scientist
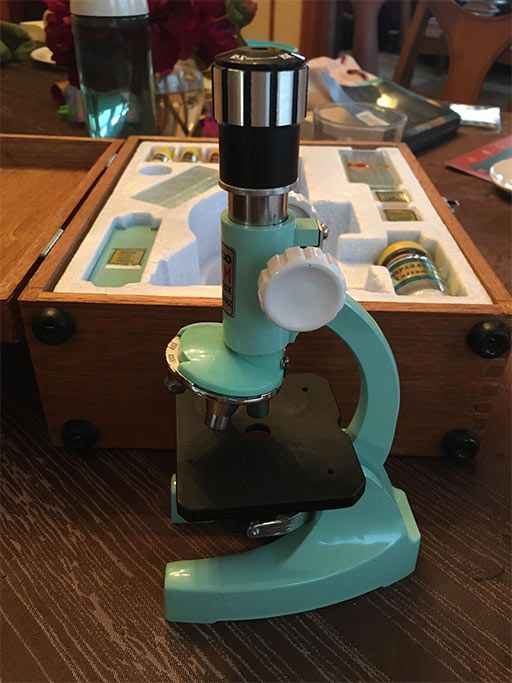
We'd been using a microscope (or trying to) that I bought in a thrift store for $6. It's a vintage kids' microscope kit from the 1960s. It's darling! And it worked great for brightly dyed, prepared slides. But, when it came to actually using it for our science experiments, it was a big ol' bust.
As a major splurge, we went totally the other direction and bought a real microscope. When shopping for a new microscope, I found this "How to Choose a Microscope" page on the AmScope website useful. It explains the difference between a compound microscope and a stereo microscope; the difference between monocular, binocular, and trinocular; and more.
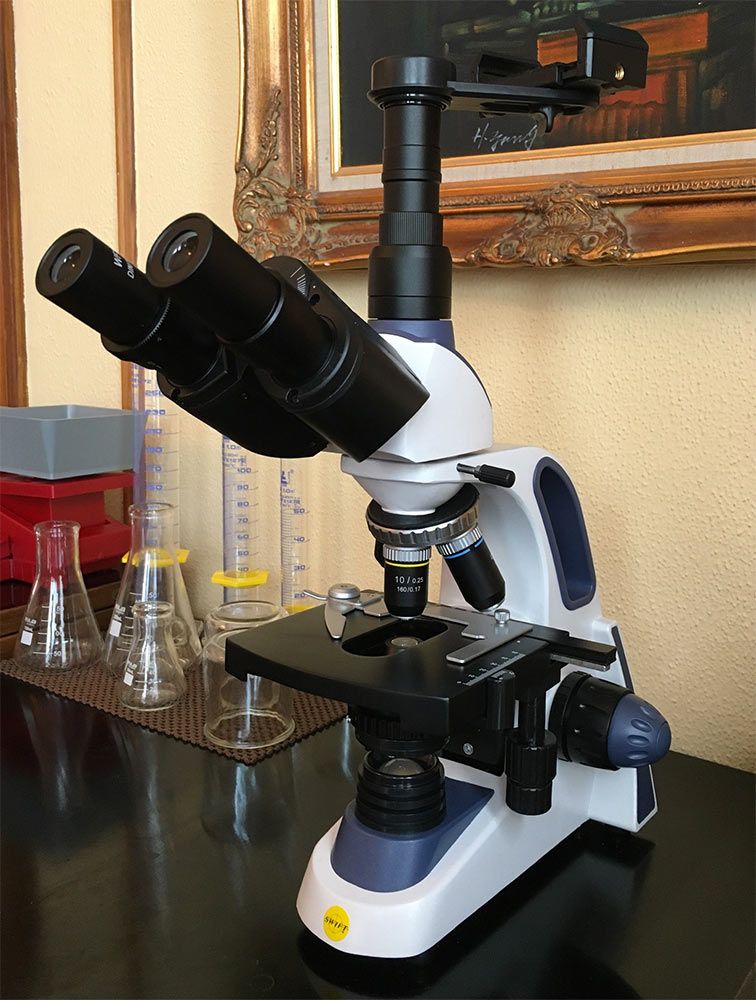
We got the Swift SW-380T, a trinocular compound microscope. It's so easy to use, it's like a dream! It's the luxury sedan of microscopes. We do big purchases infrequently—we drive our cars until they fall apart, my phone is almost as old as my kid, we don't even have any game systems—so this was a very special treat.
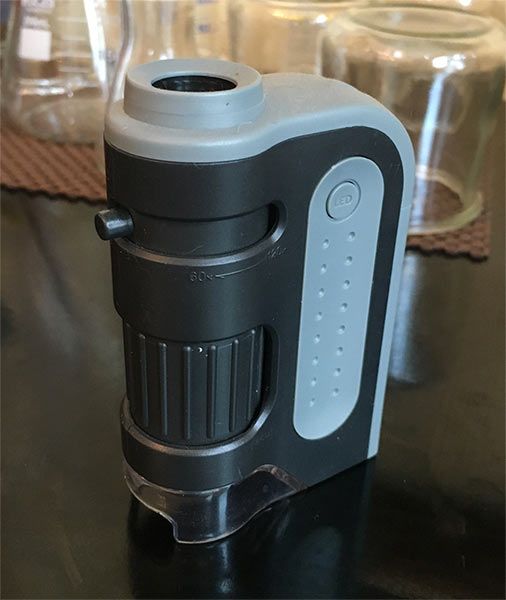
Now, there's a whoooole lotta room between $6 and $300. I want to be clear: it is an utterly unnecessary purchase. A perfectly suitable microscope can be had for hundreds less than we spent. And really, whatever can be seen through a microscope can also be seen via Google image search and YouTube for free. Heck, they sell little $10 pocket microscopes that are awesome. Wanda is not going to magically become more sciencey just because we dropped a few hundred dollars on a microscope that has some bells and whistles. This was an extravagance.
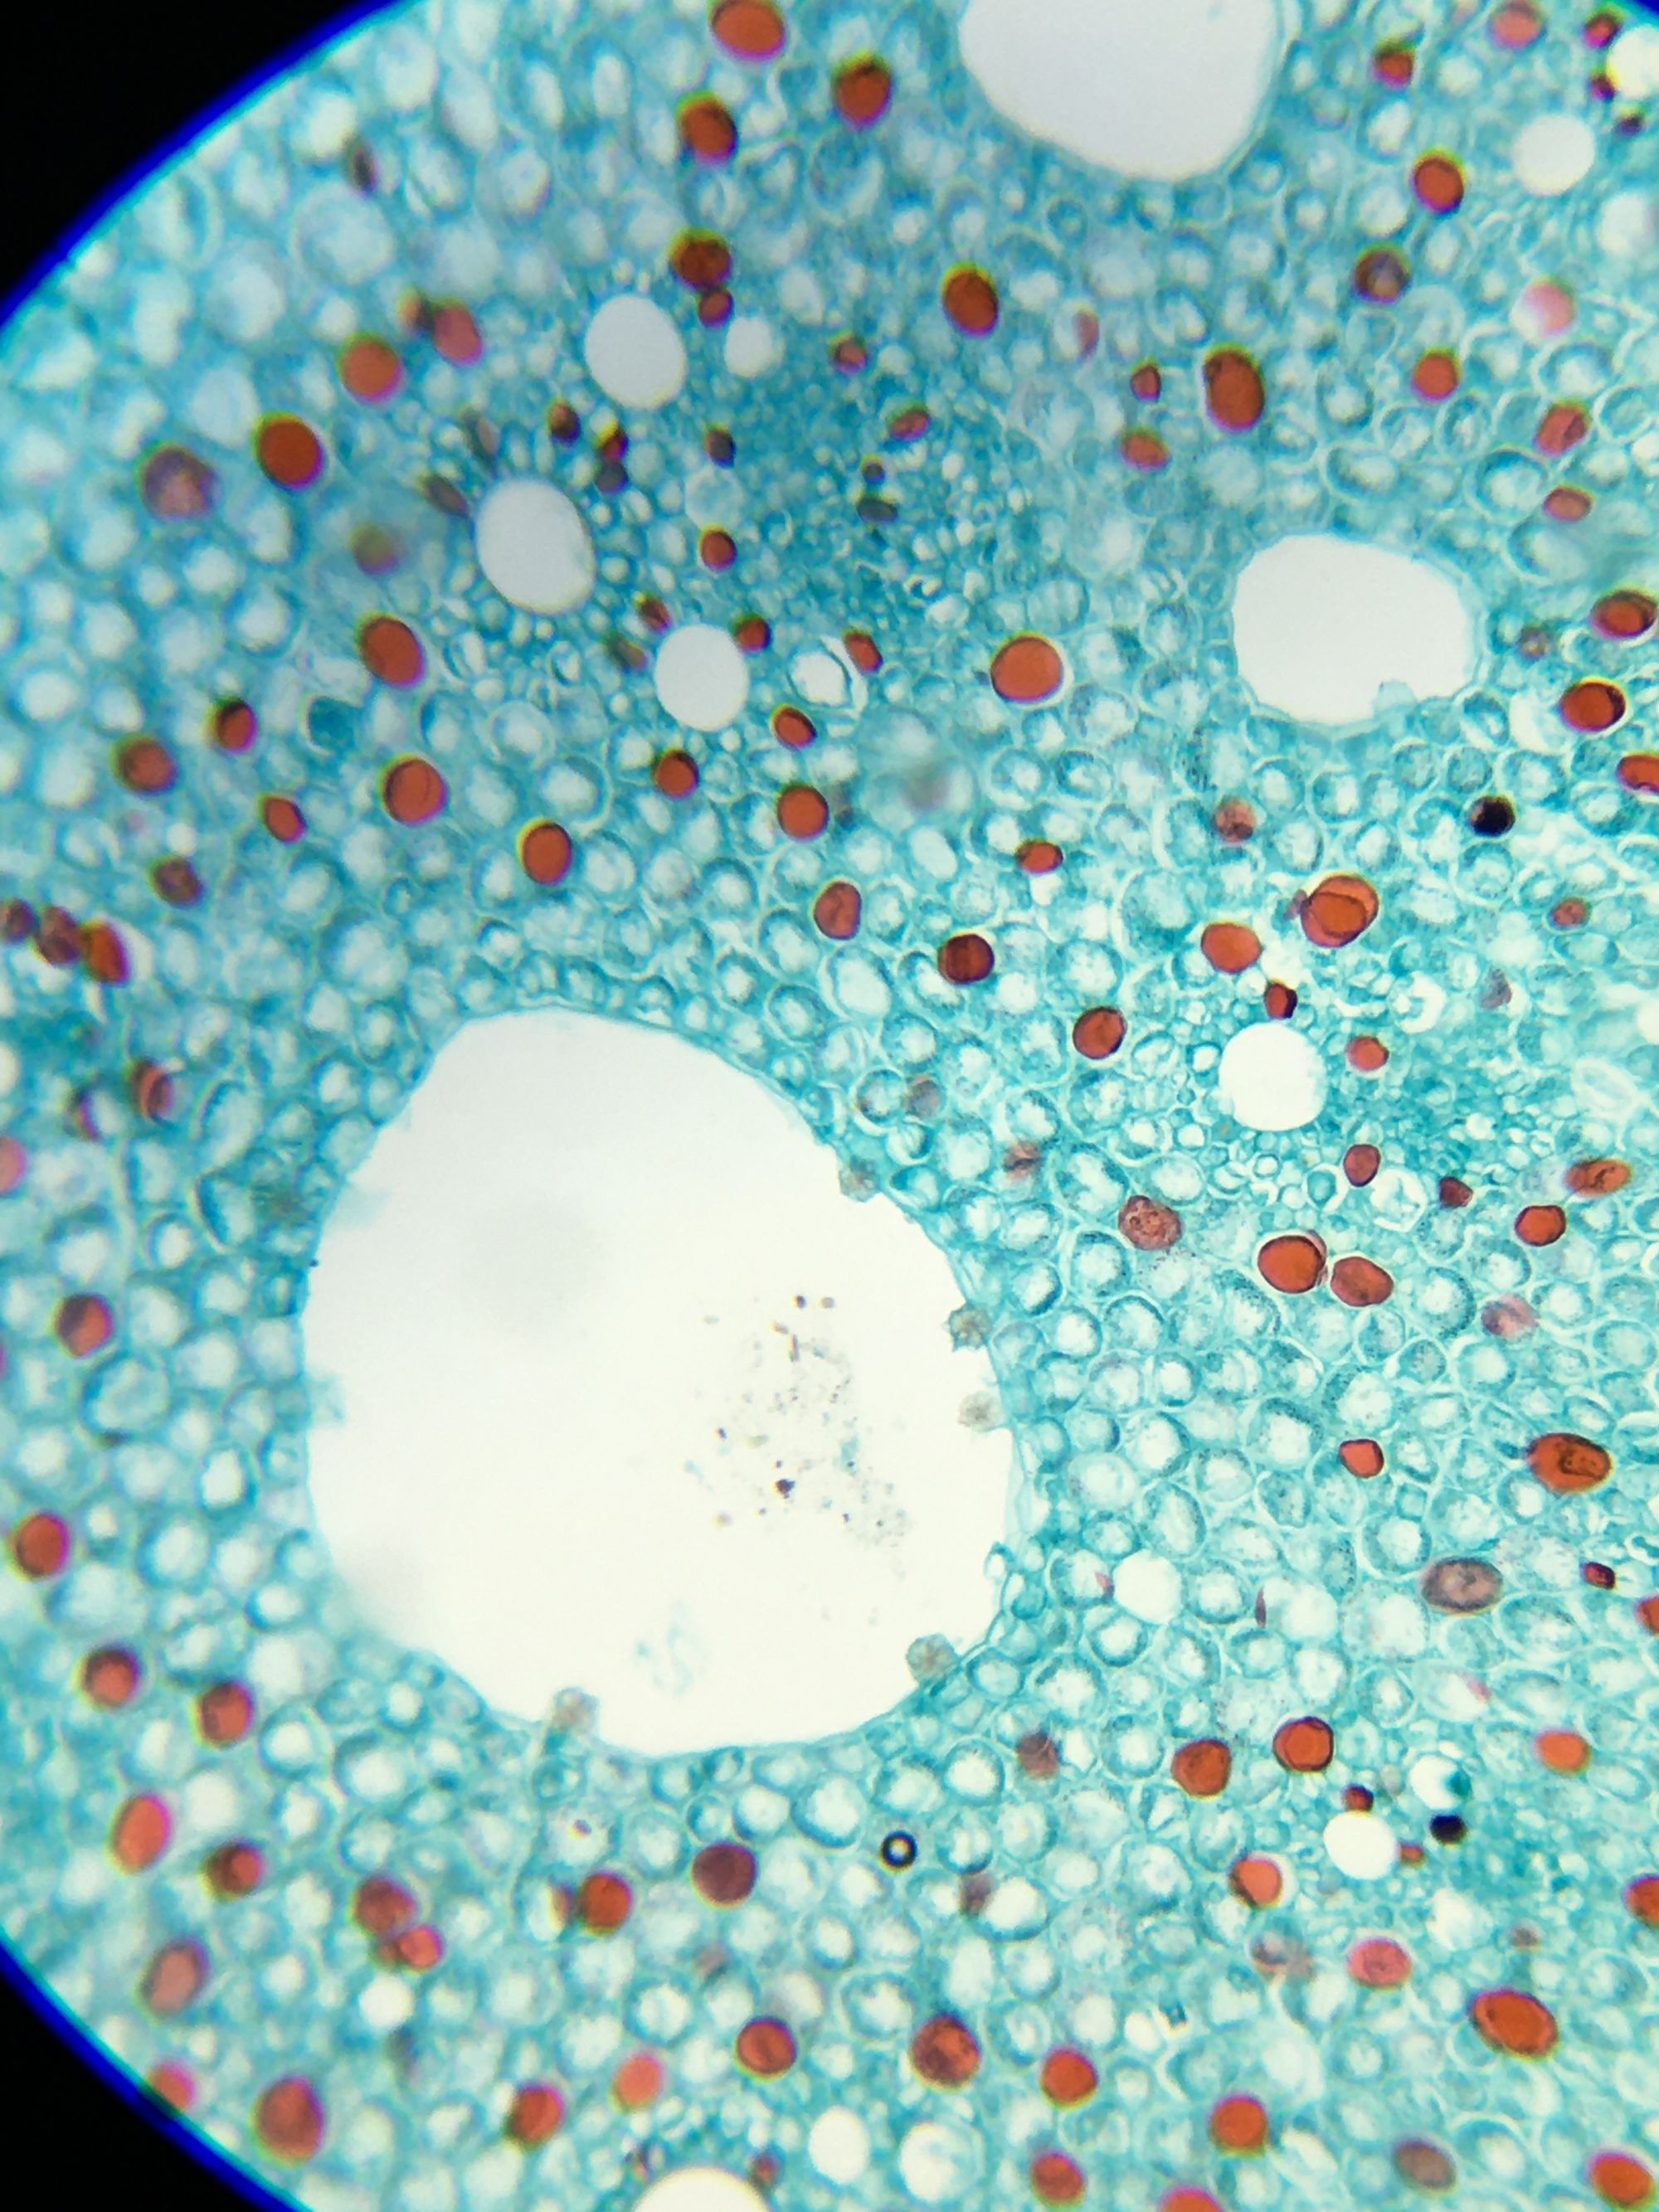
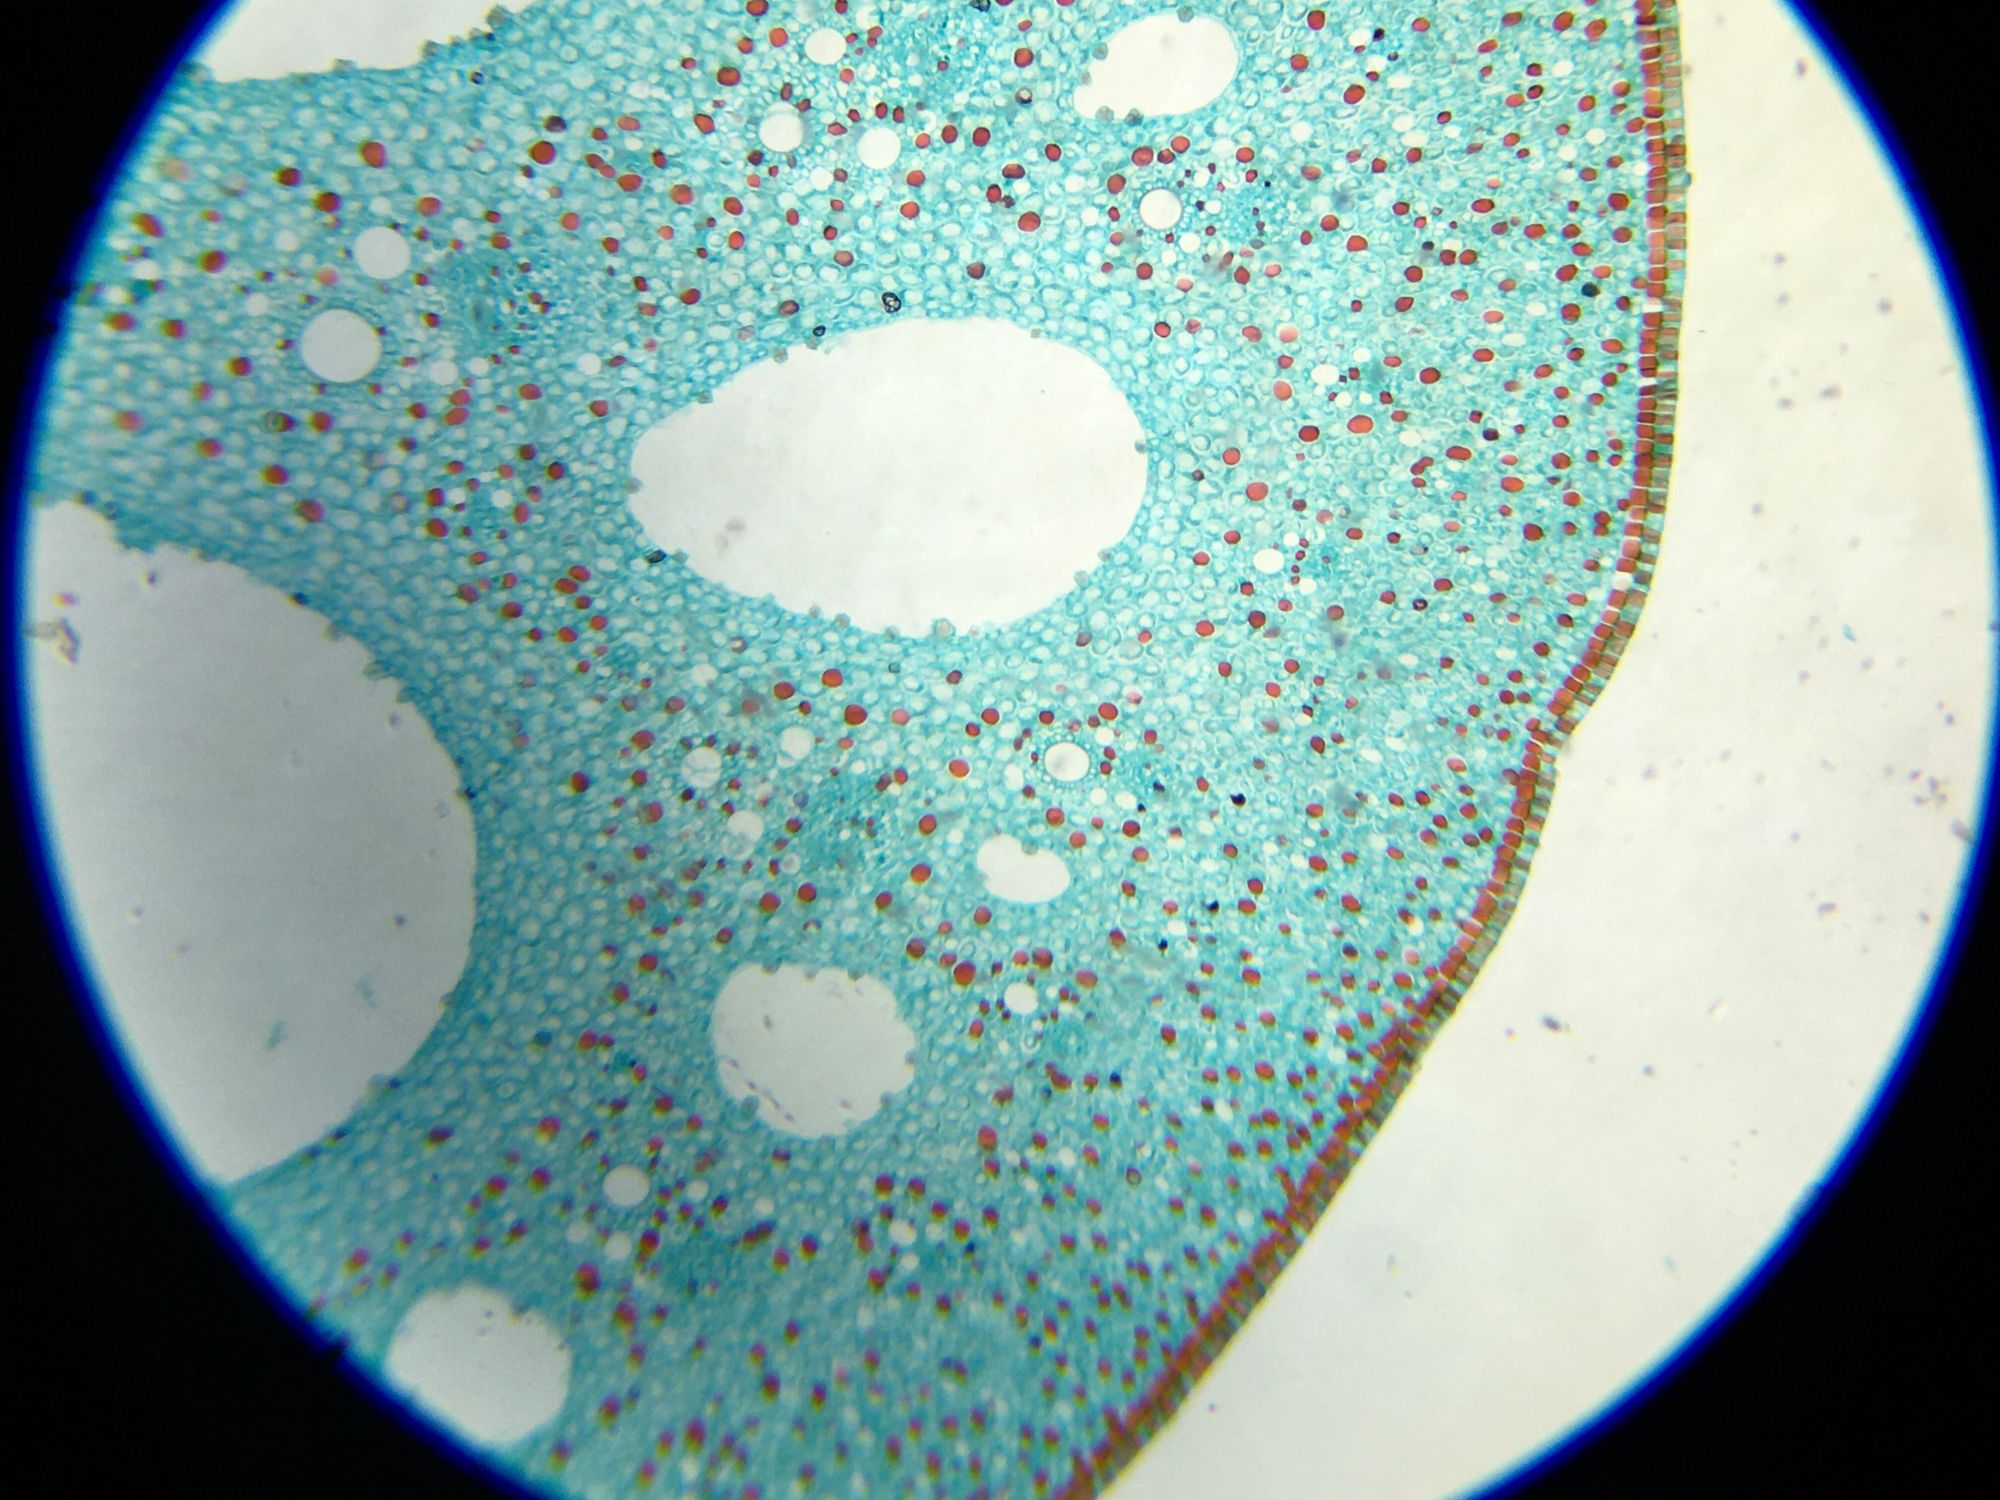
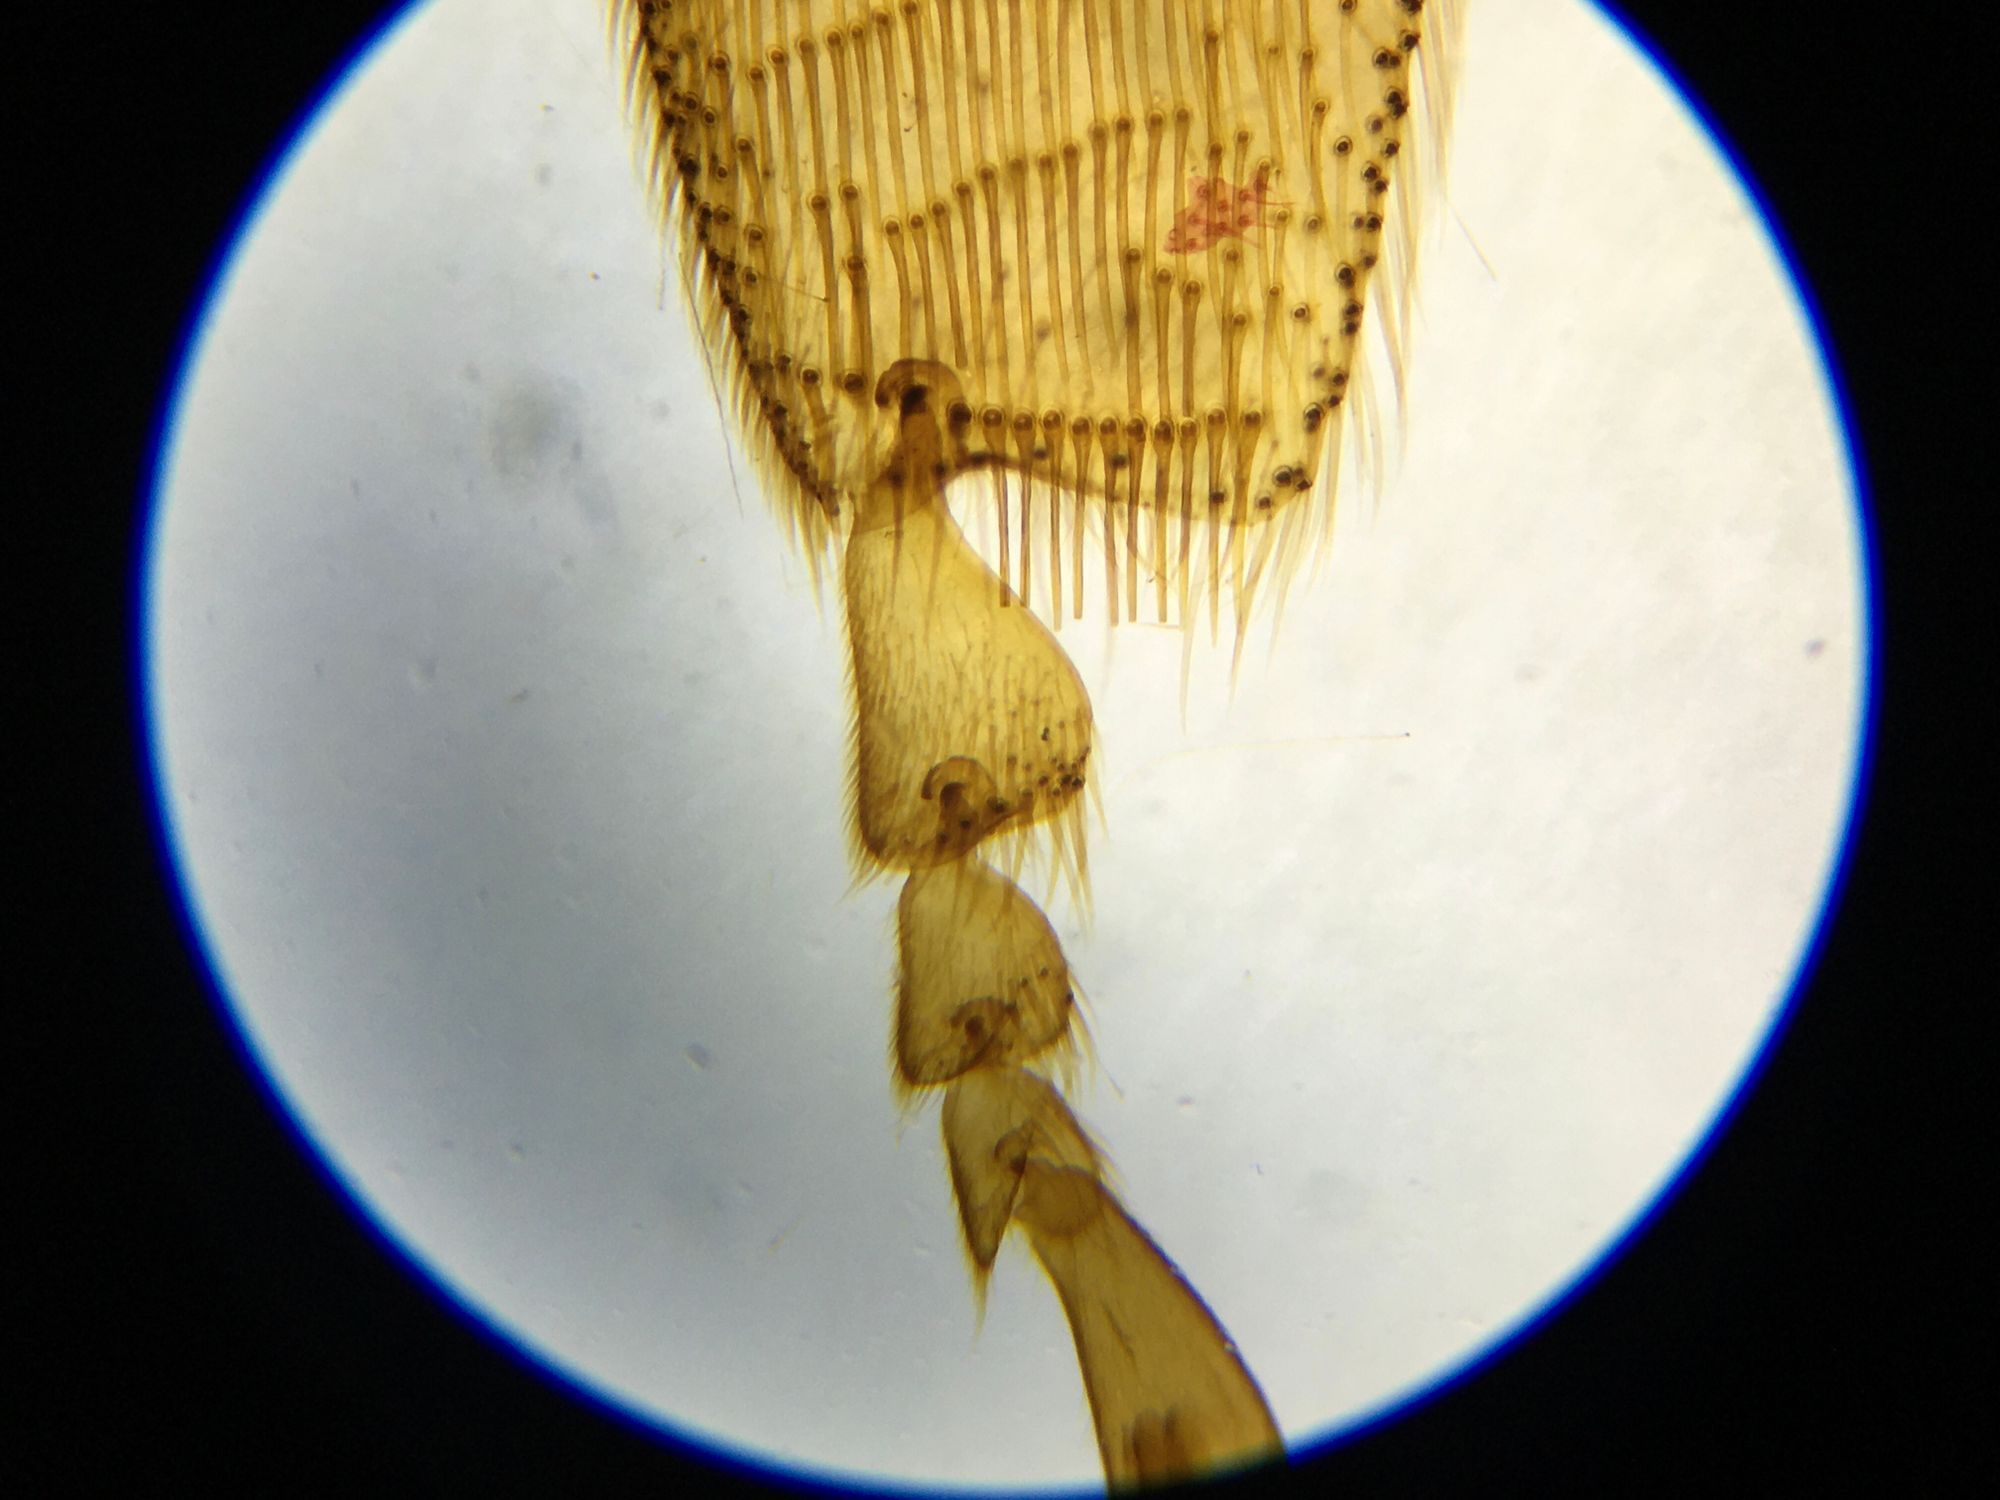
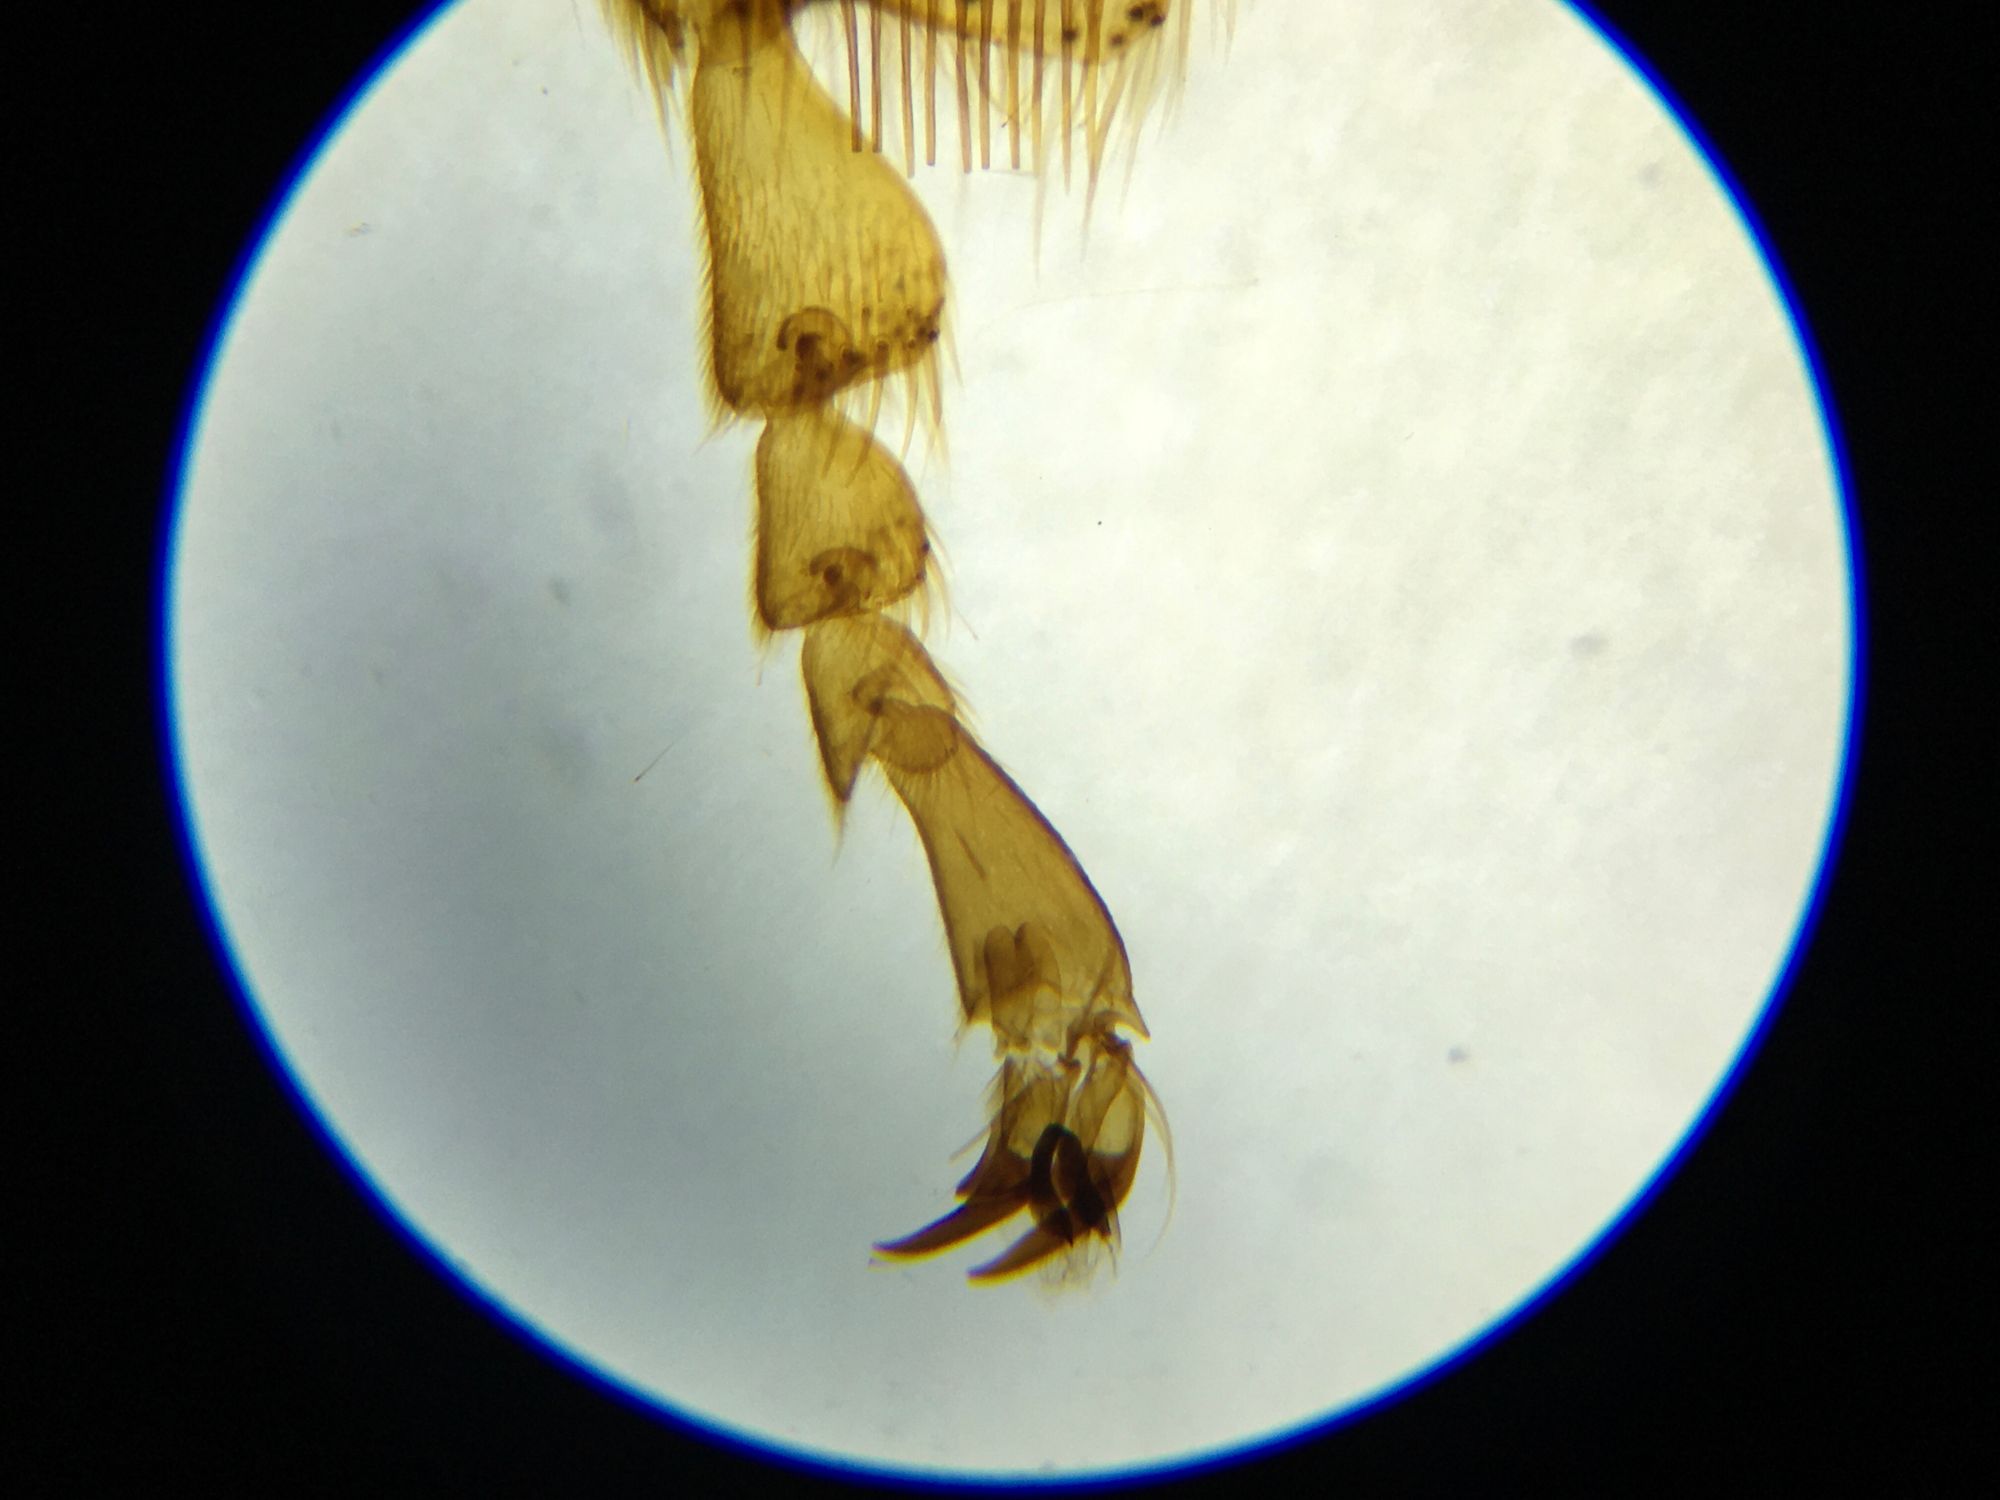
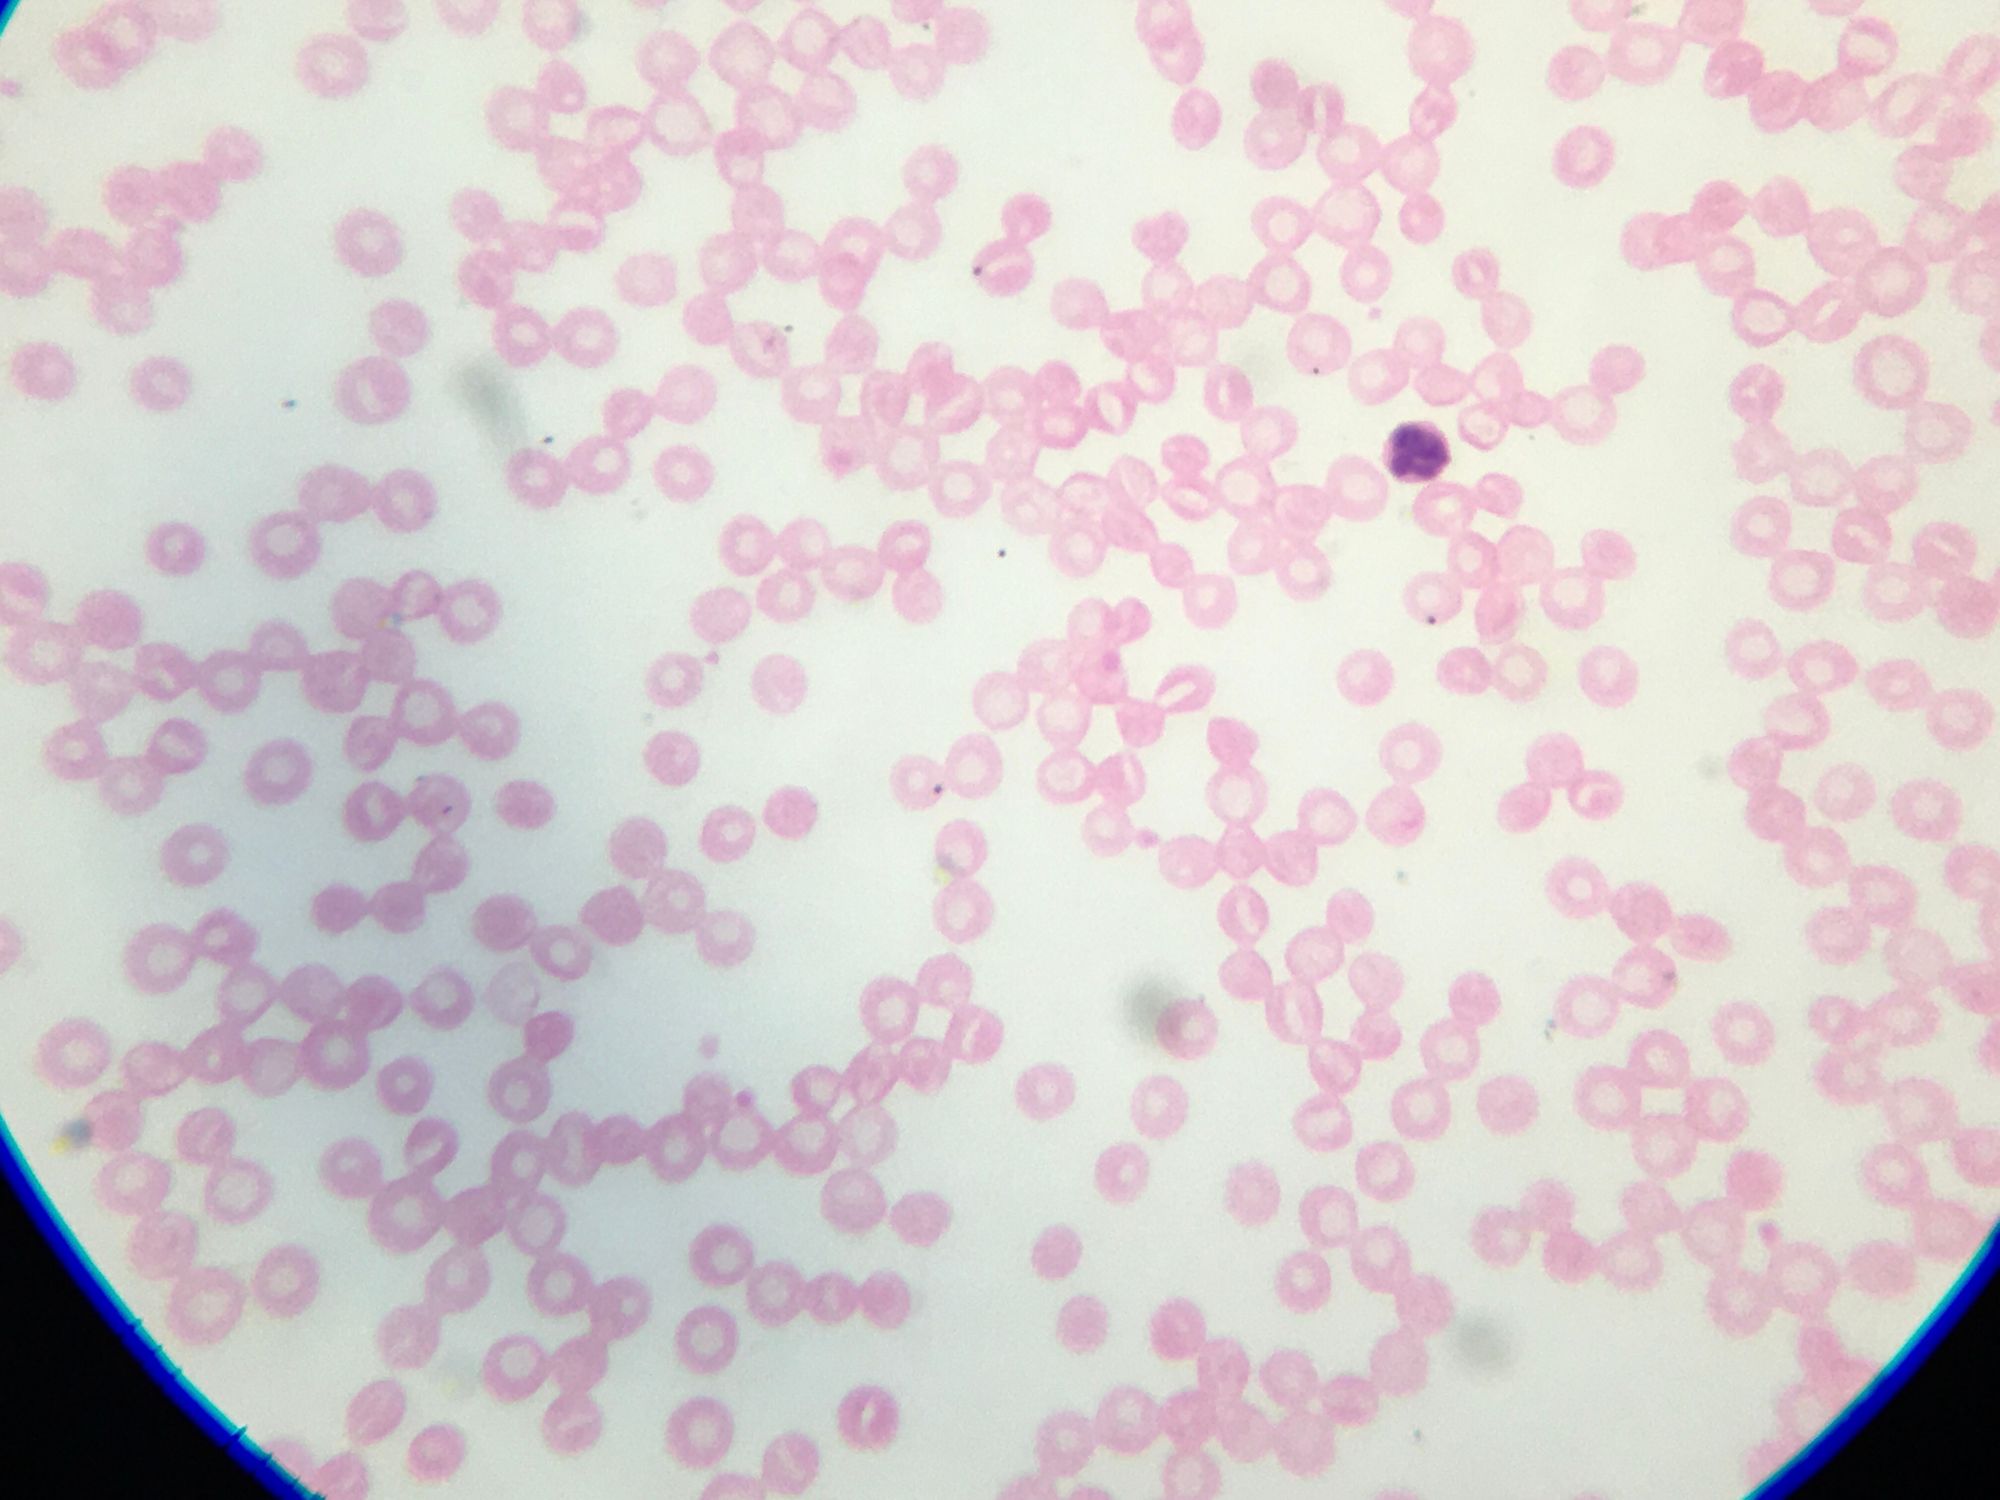
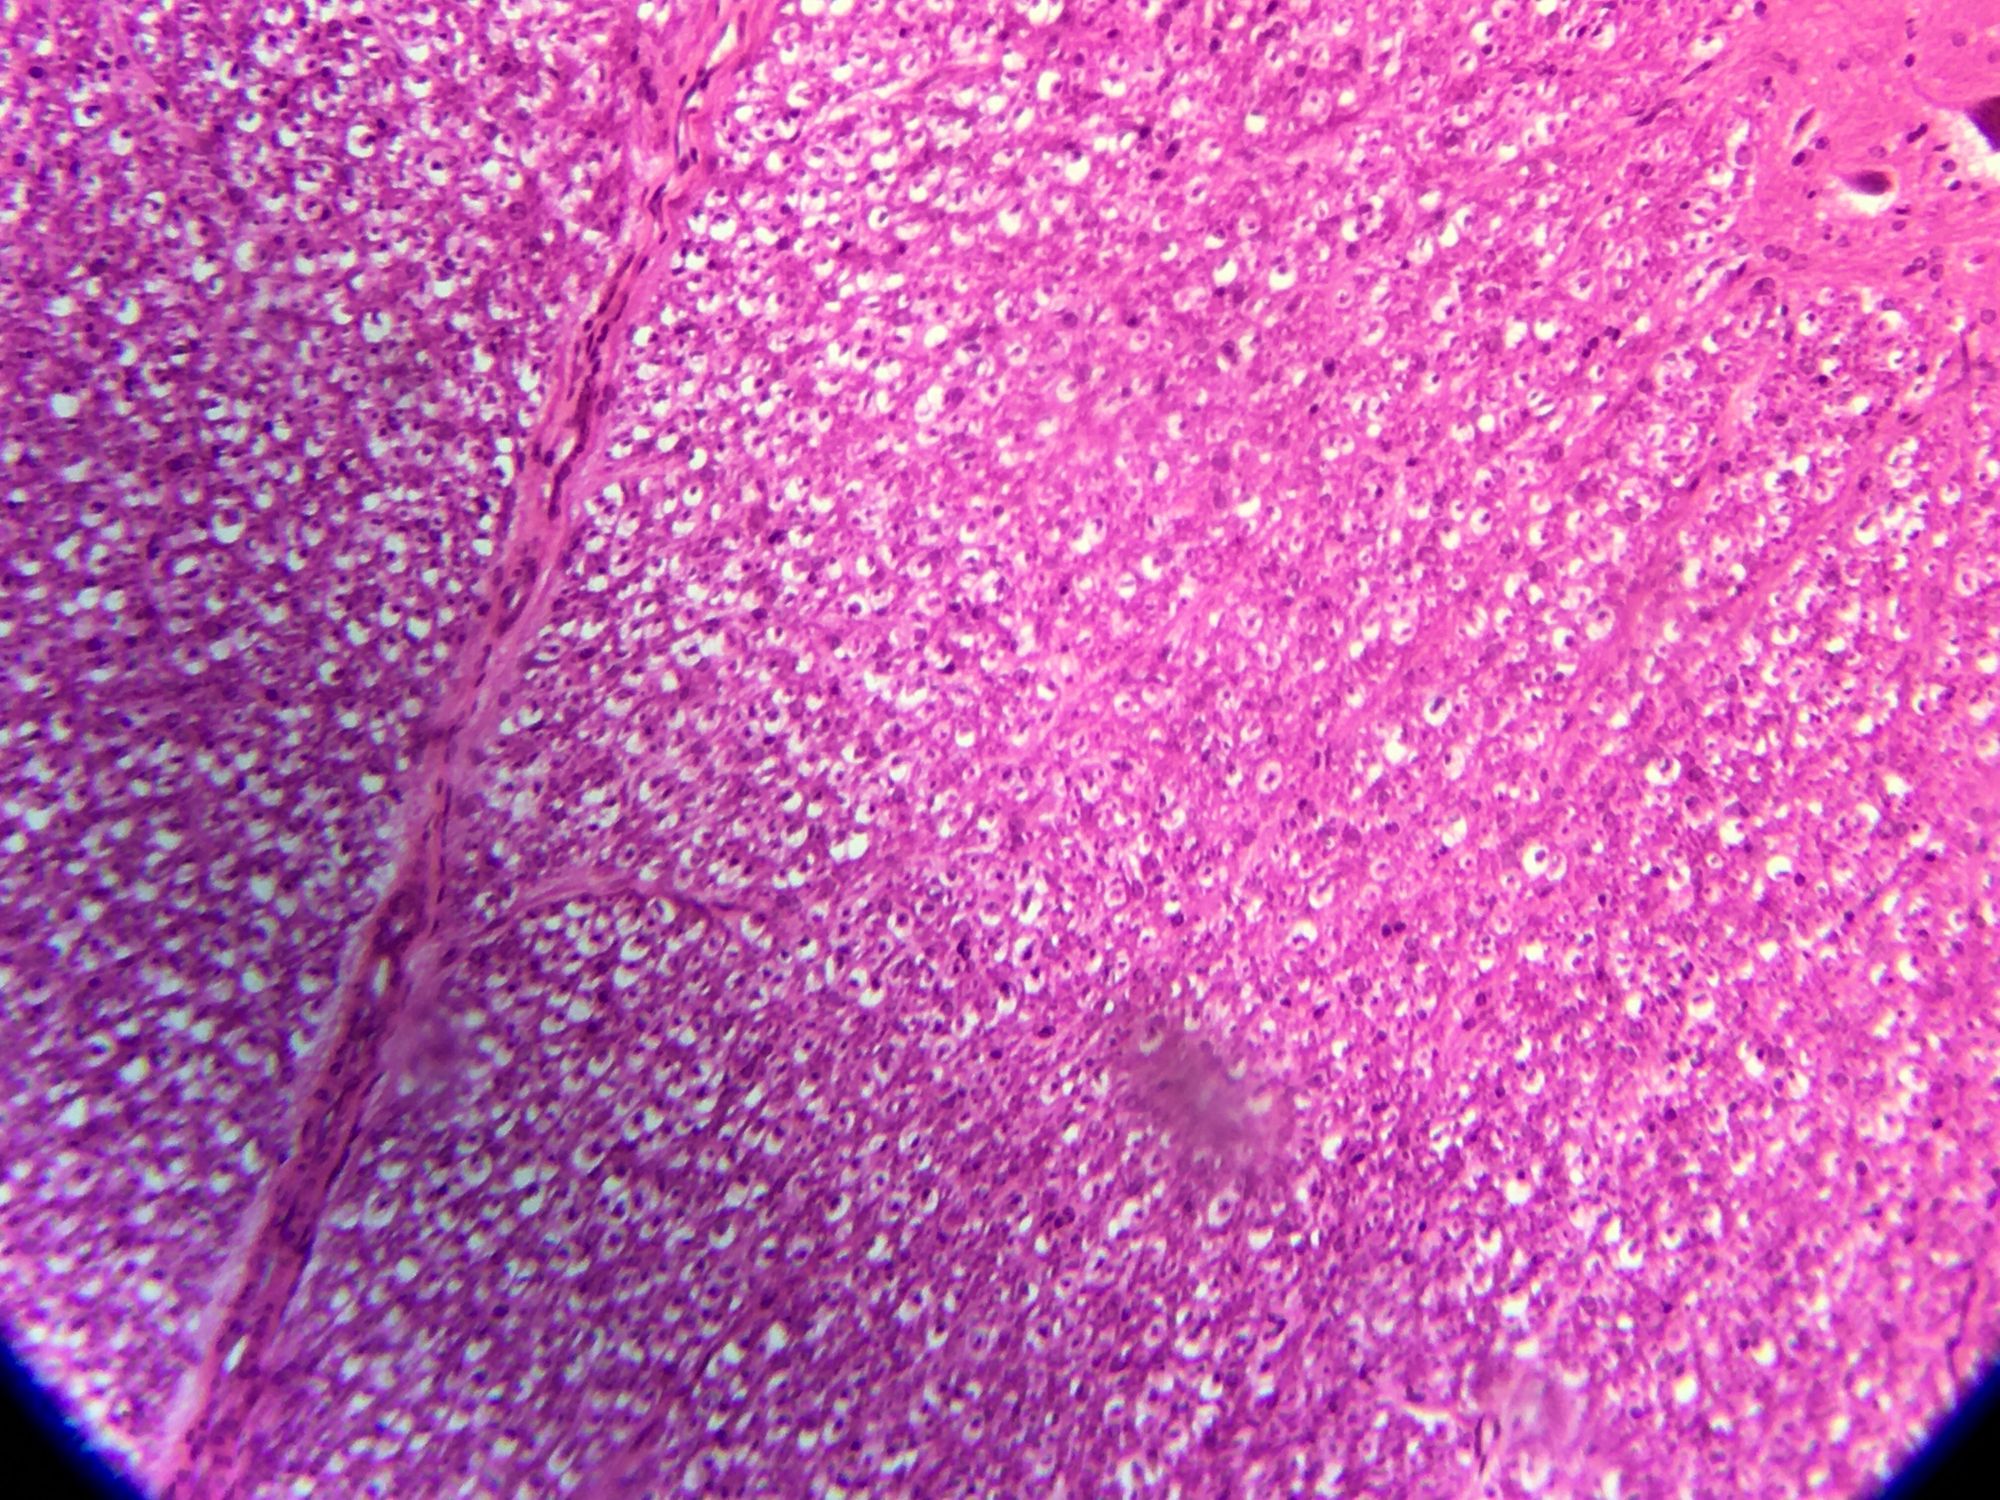
The Swift SW-280T has three ocular tubes: two act as a set of binoculars, so you don't have to squeeze one eye shut. The third acts as a separate portal for capturing images. Typically, a camera would be mounted on that third tube, or a connection to a computer. I didn't want to buy a microscope with any built-in digital components, as they become dated too quickly, and I want this microscope to serve us for years and years. The prices for separate digital microscope camera attachments were eye-popping, and the resolution unimpressive.
I spent some time on a Reddit for microscope nerds and learned that many of them just use a cheap adapter to hook up their iPhone, so I found one of those for $25, and it works great. (This same style of adapter would work just as well on a monocular microscope.) Down the road, if I want to get a digital microscope camera attachment, I can, but I think that day's a long ways off, the iPhone works too well.
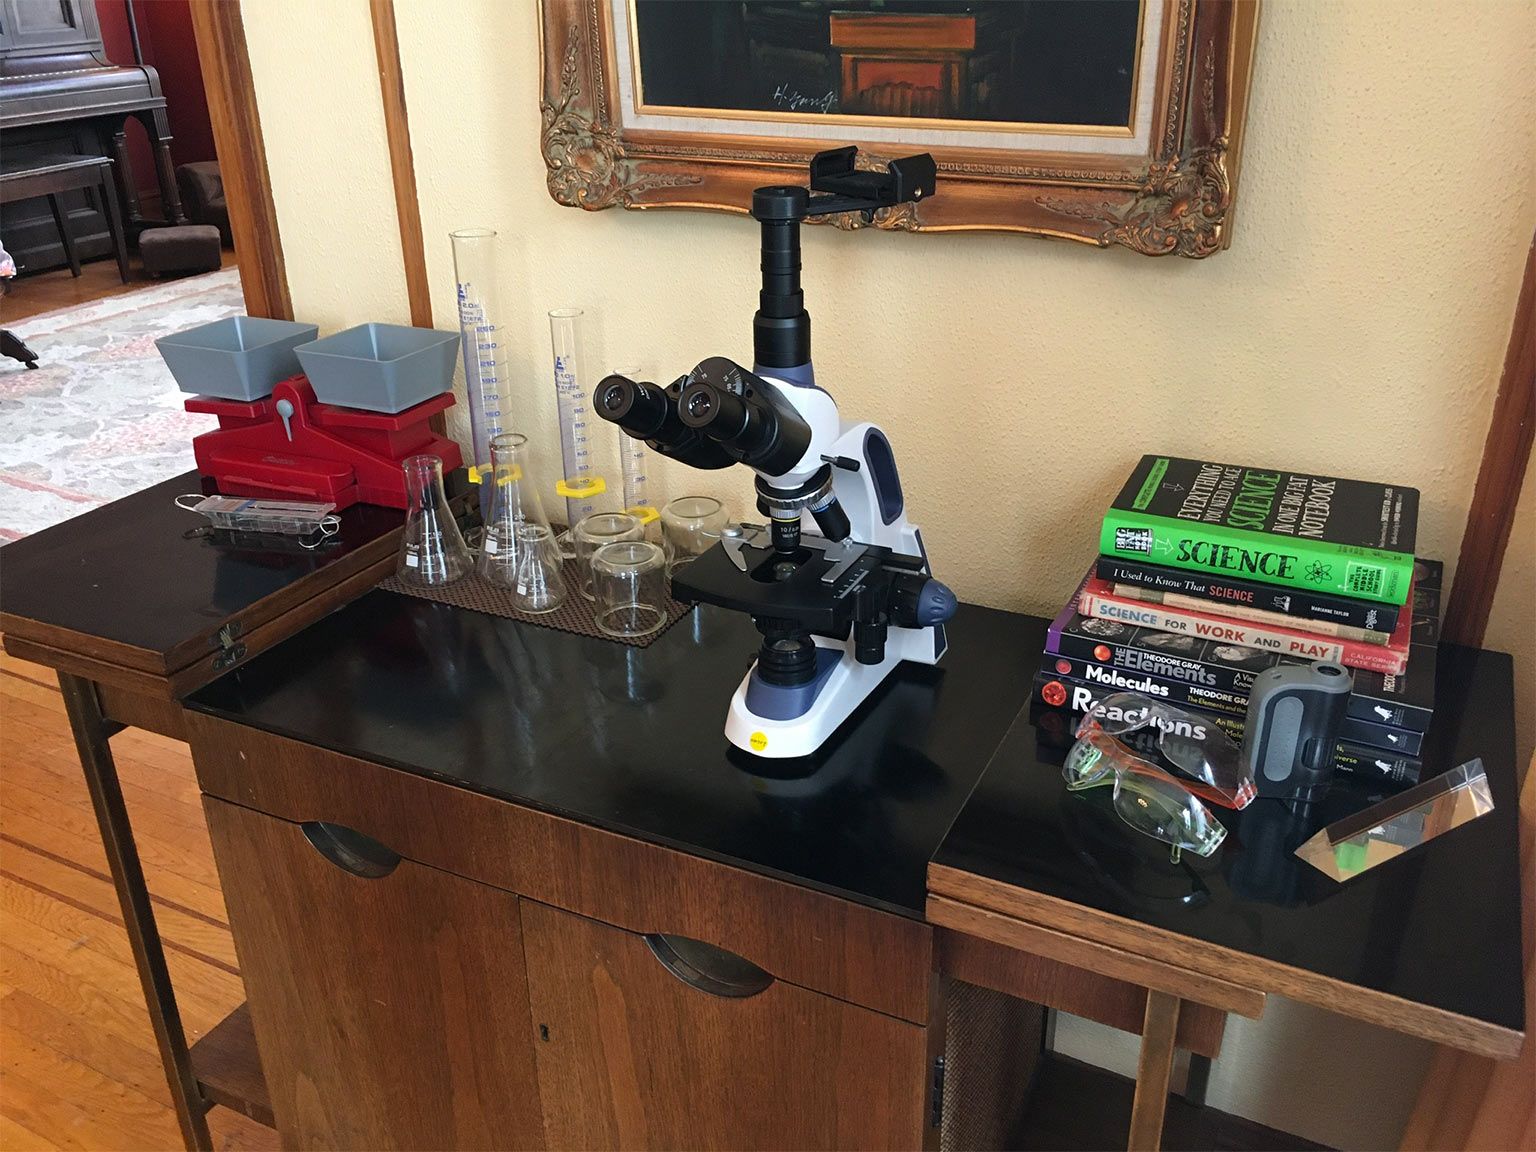
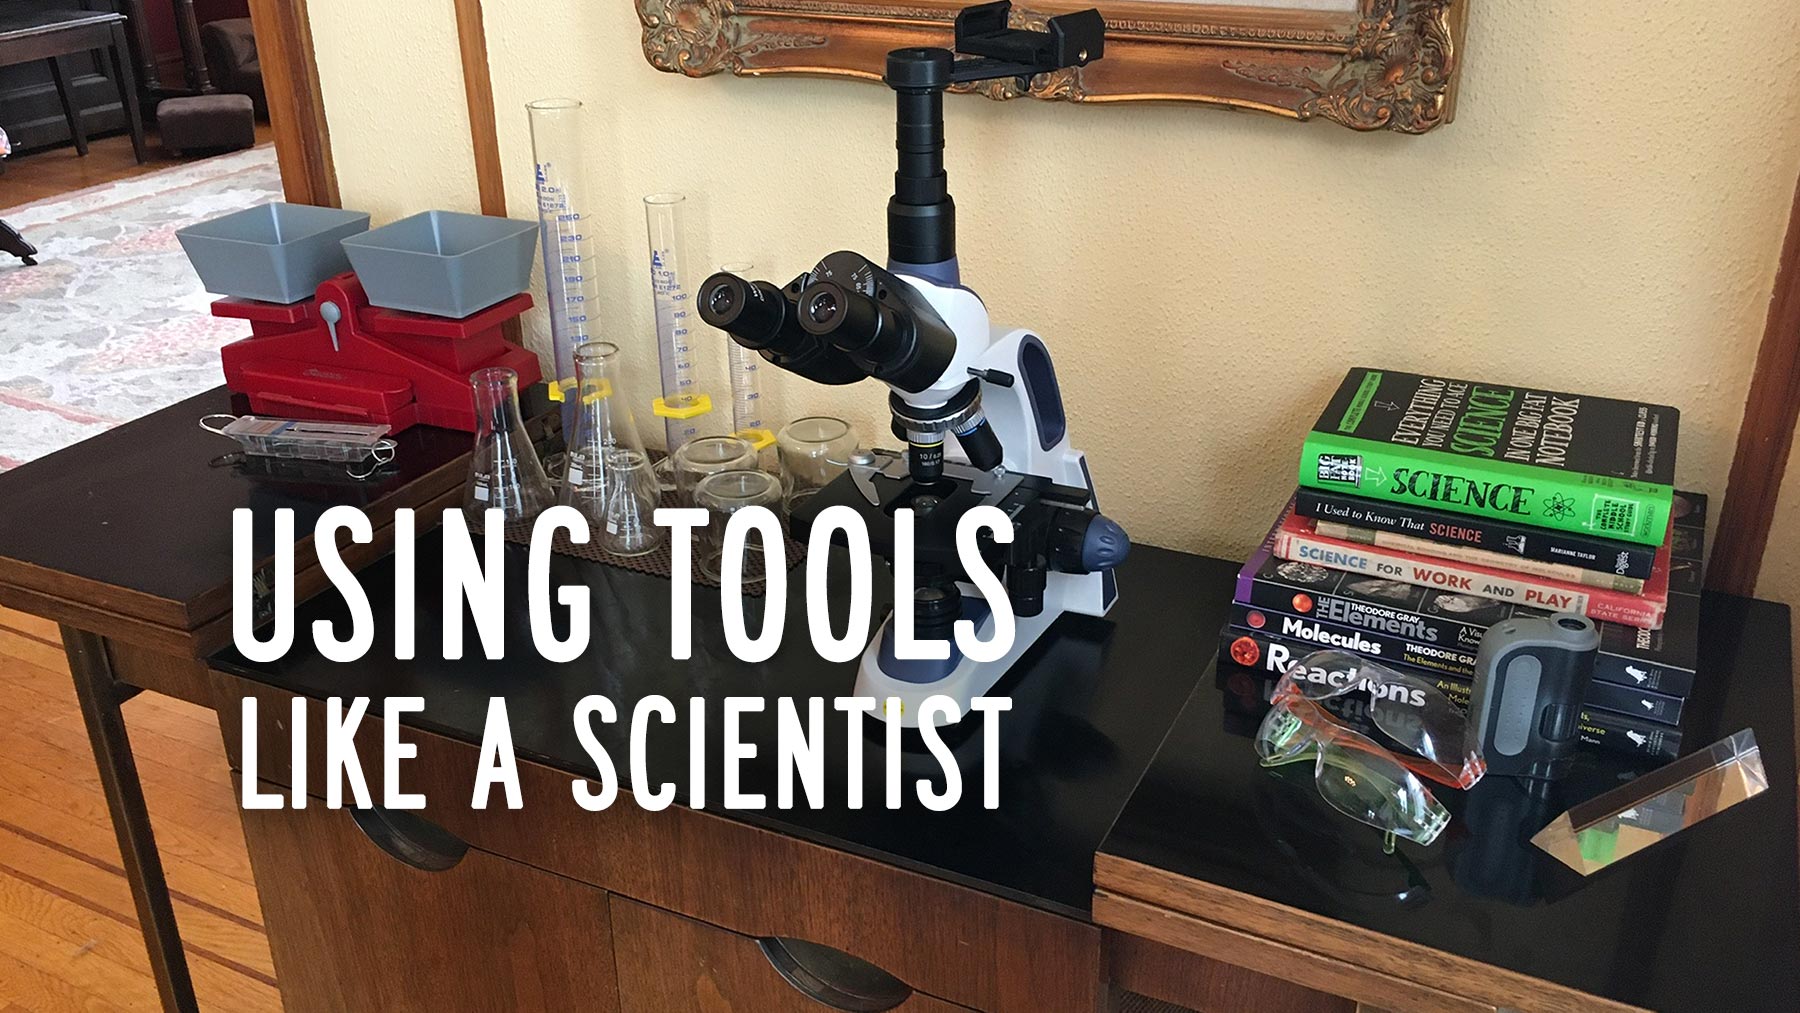
Our deluxe microscope needed a place to live, and space is at a premium in our San Francisco home. I shuffled some things around, and turned a vintage cocktail cart into our new science station. Now all of the science kits, equipment, supplies, and reference books are together in one functional, visually pleasing, and inviting place. Including the ✨ Sparkly Party Plate of Science ✨.

